Start Simple Project
Start with an empty folder or an existing codebase. Ithyno initializes the project in place, so you do not need to copy your source files into a special workspace.
1. Open the setup flow
Choose the instructions for the way you use ithyno.
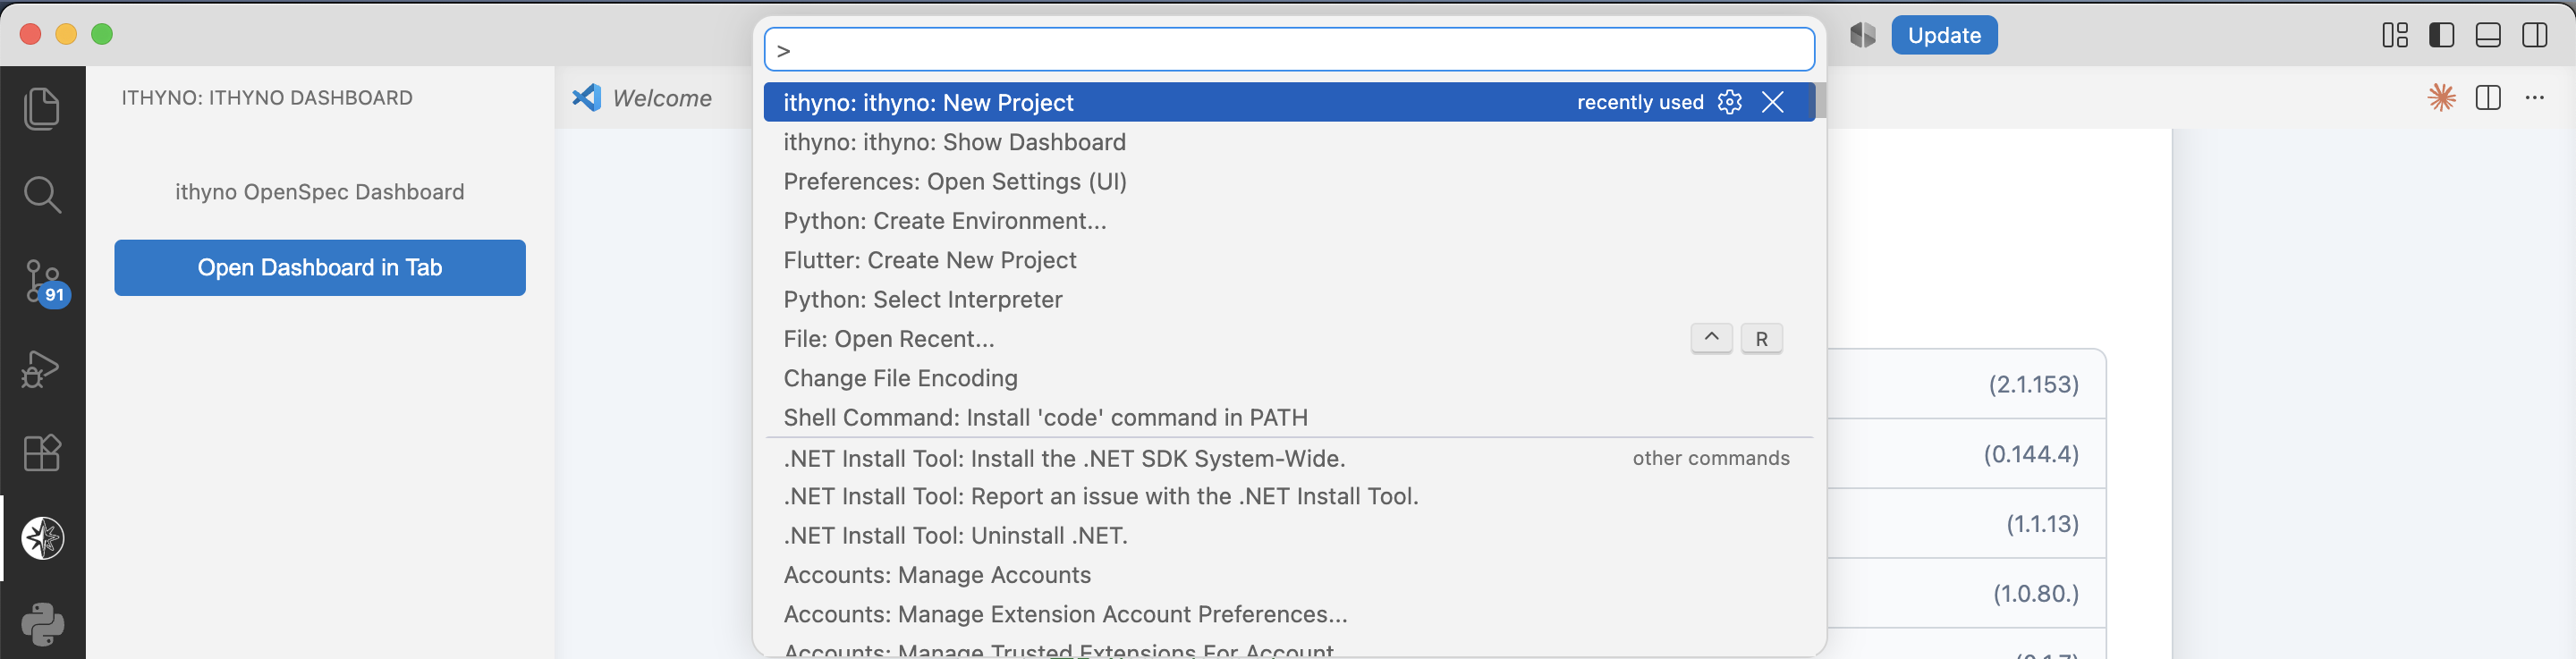
- Open the Command Palette in VS Code.
- Run ithyno: New Project.
- Select a parent folder.
- Enter a new subdirectory name, or leave it empty to initialize the selected folder itself.
- Complete setup in the onboarding panel. When setup finishes, select Open Project. VS Code reloads with the new folder as its workspace.
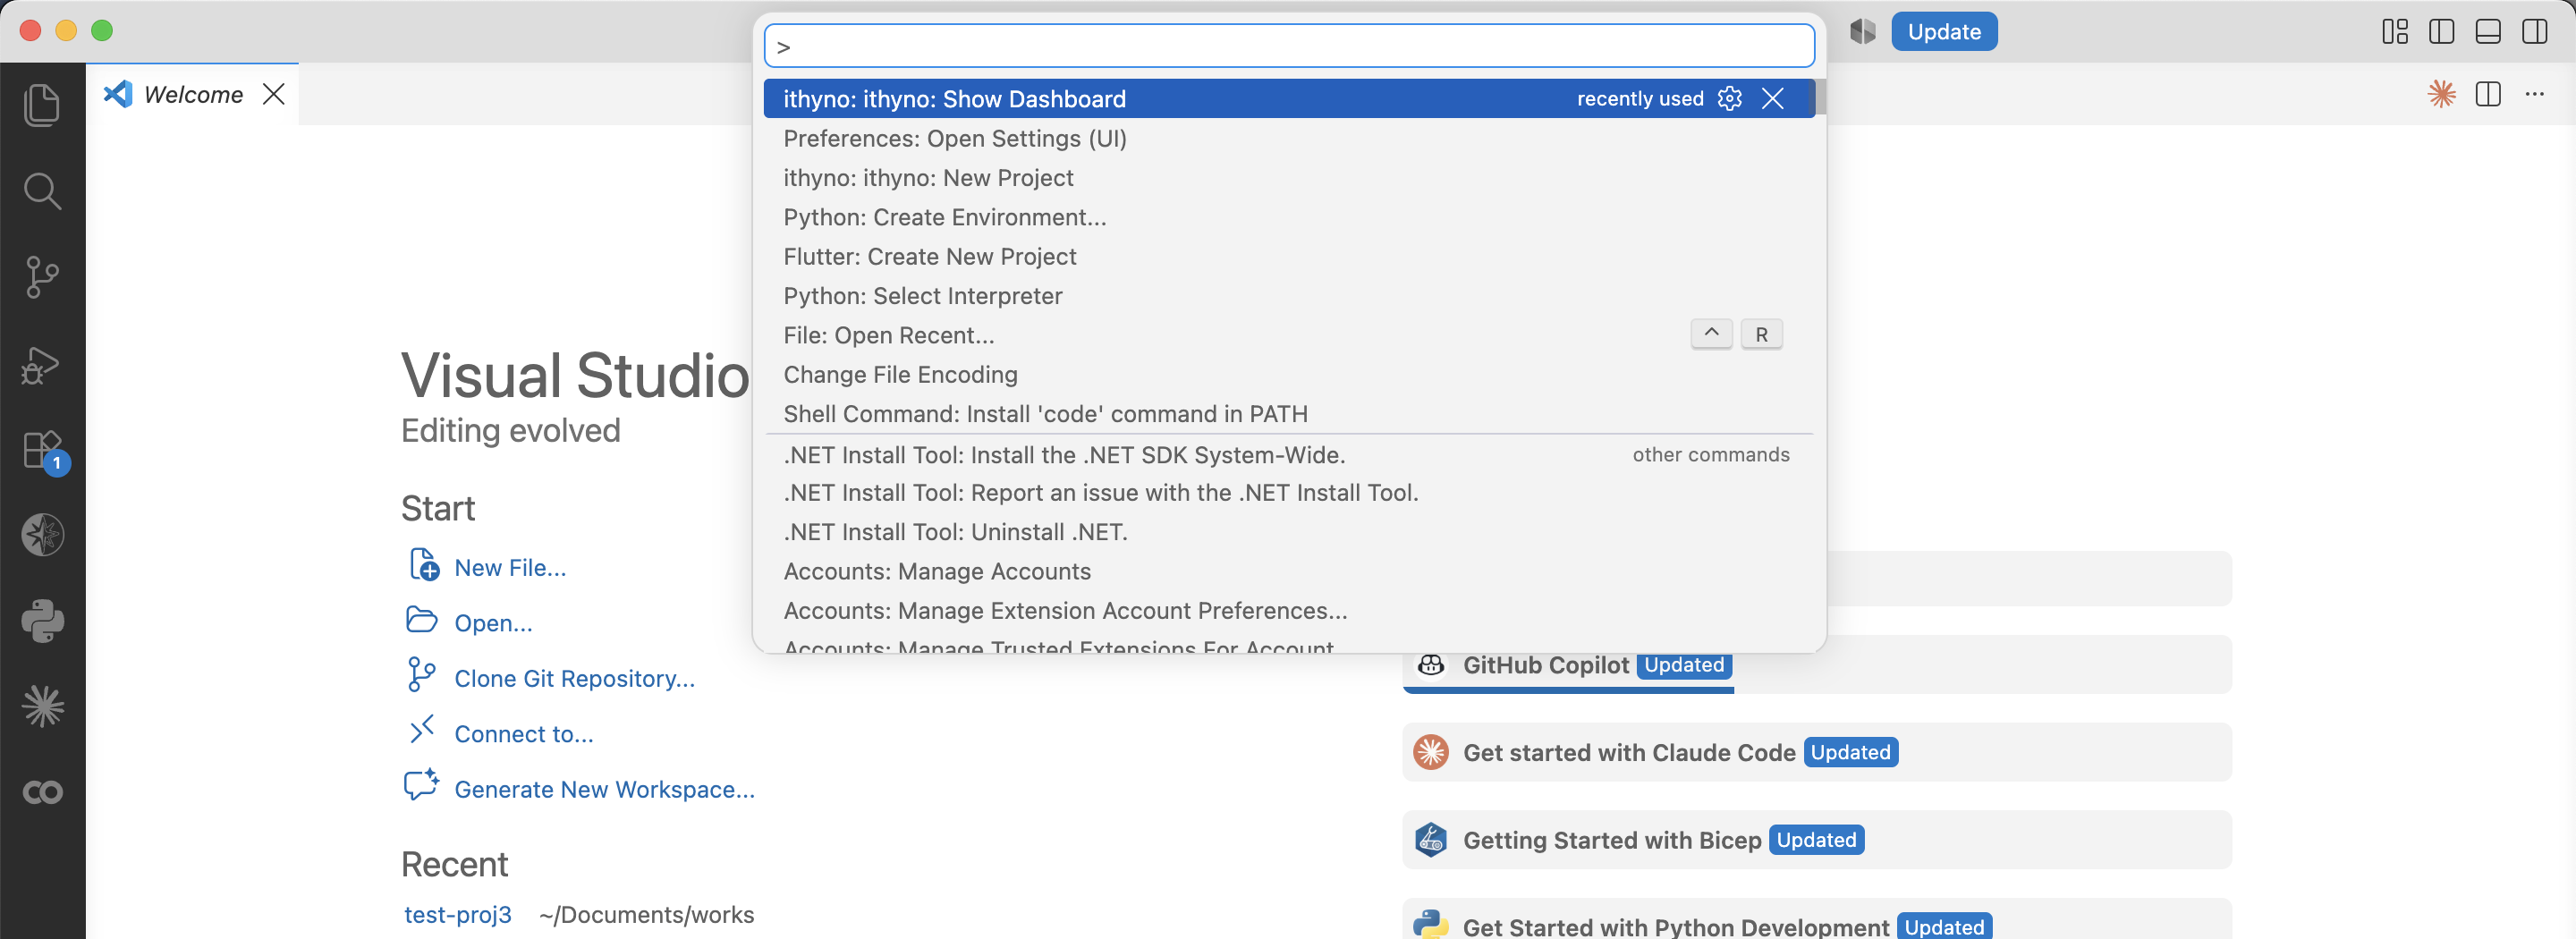
- Run ithyno: Show Dashboard to open the dashboard beside your editor.
Create a project in VS Code
Open the dashboard in VS Code
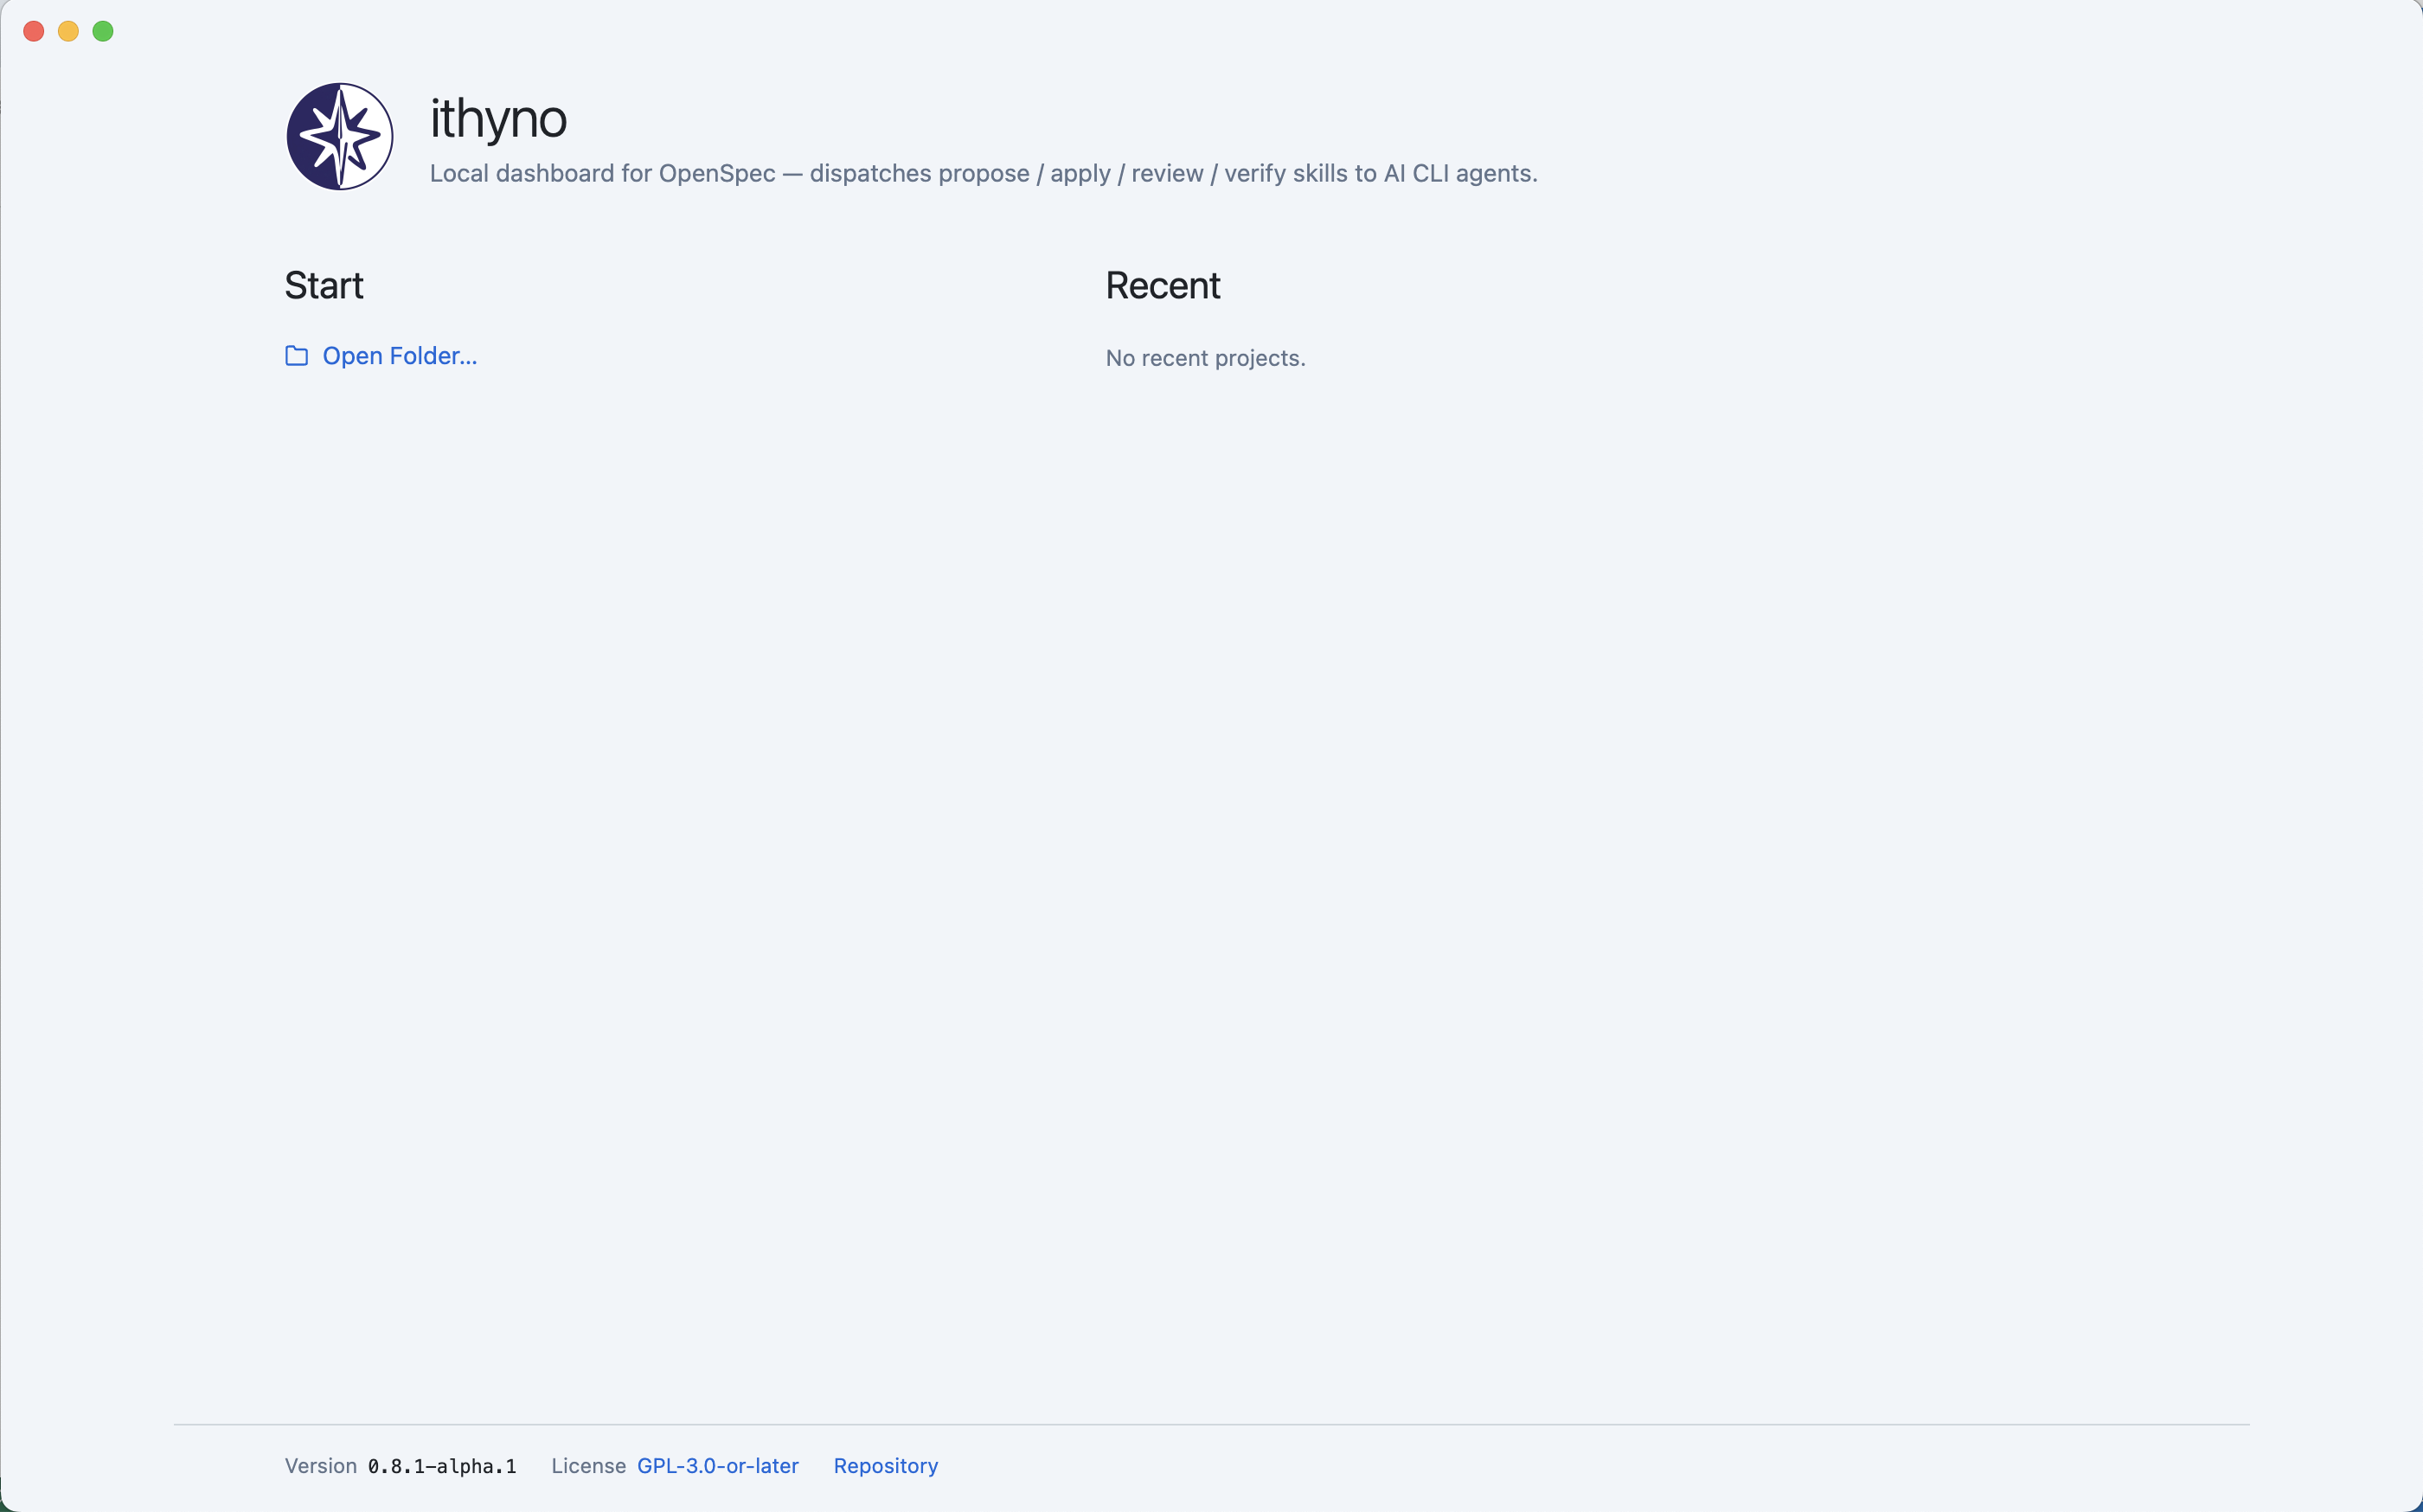
- Launch the ithyno app.
- On the welcome screen, select Open Folder and choose the folder you want to use. If another project is already open, you can instead use File → New Project….
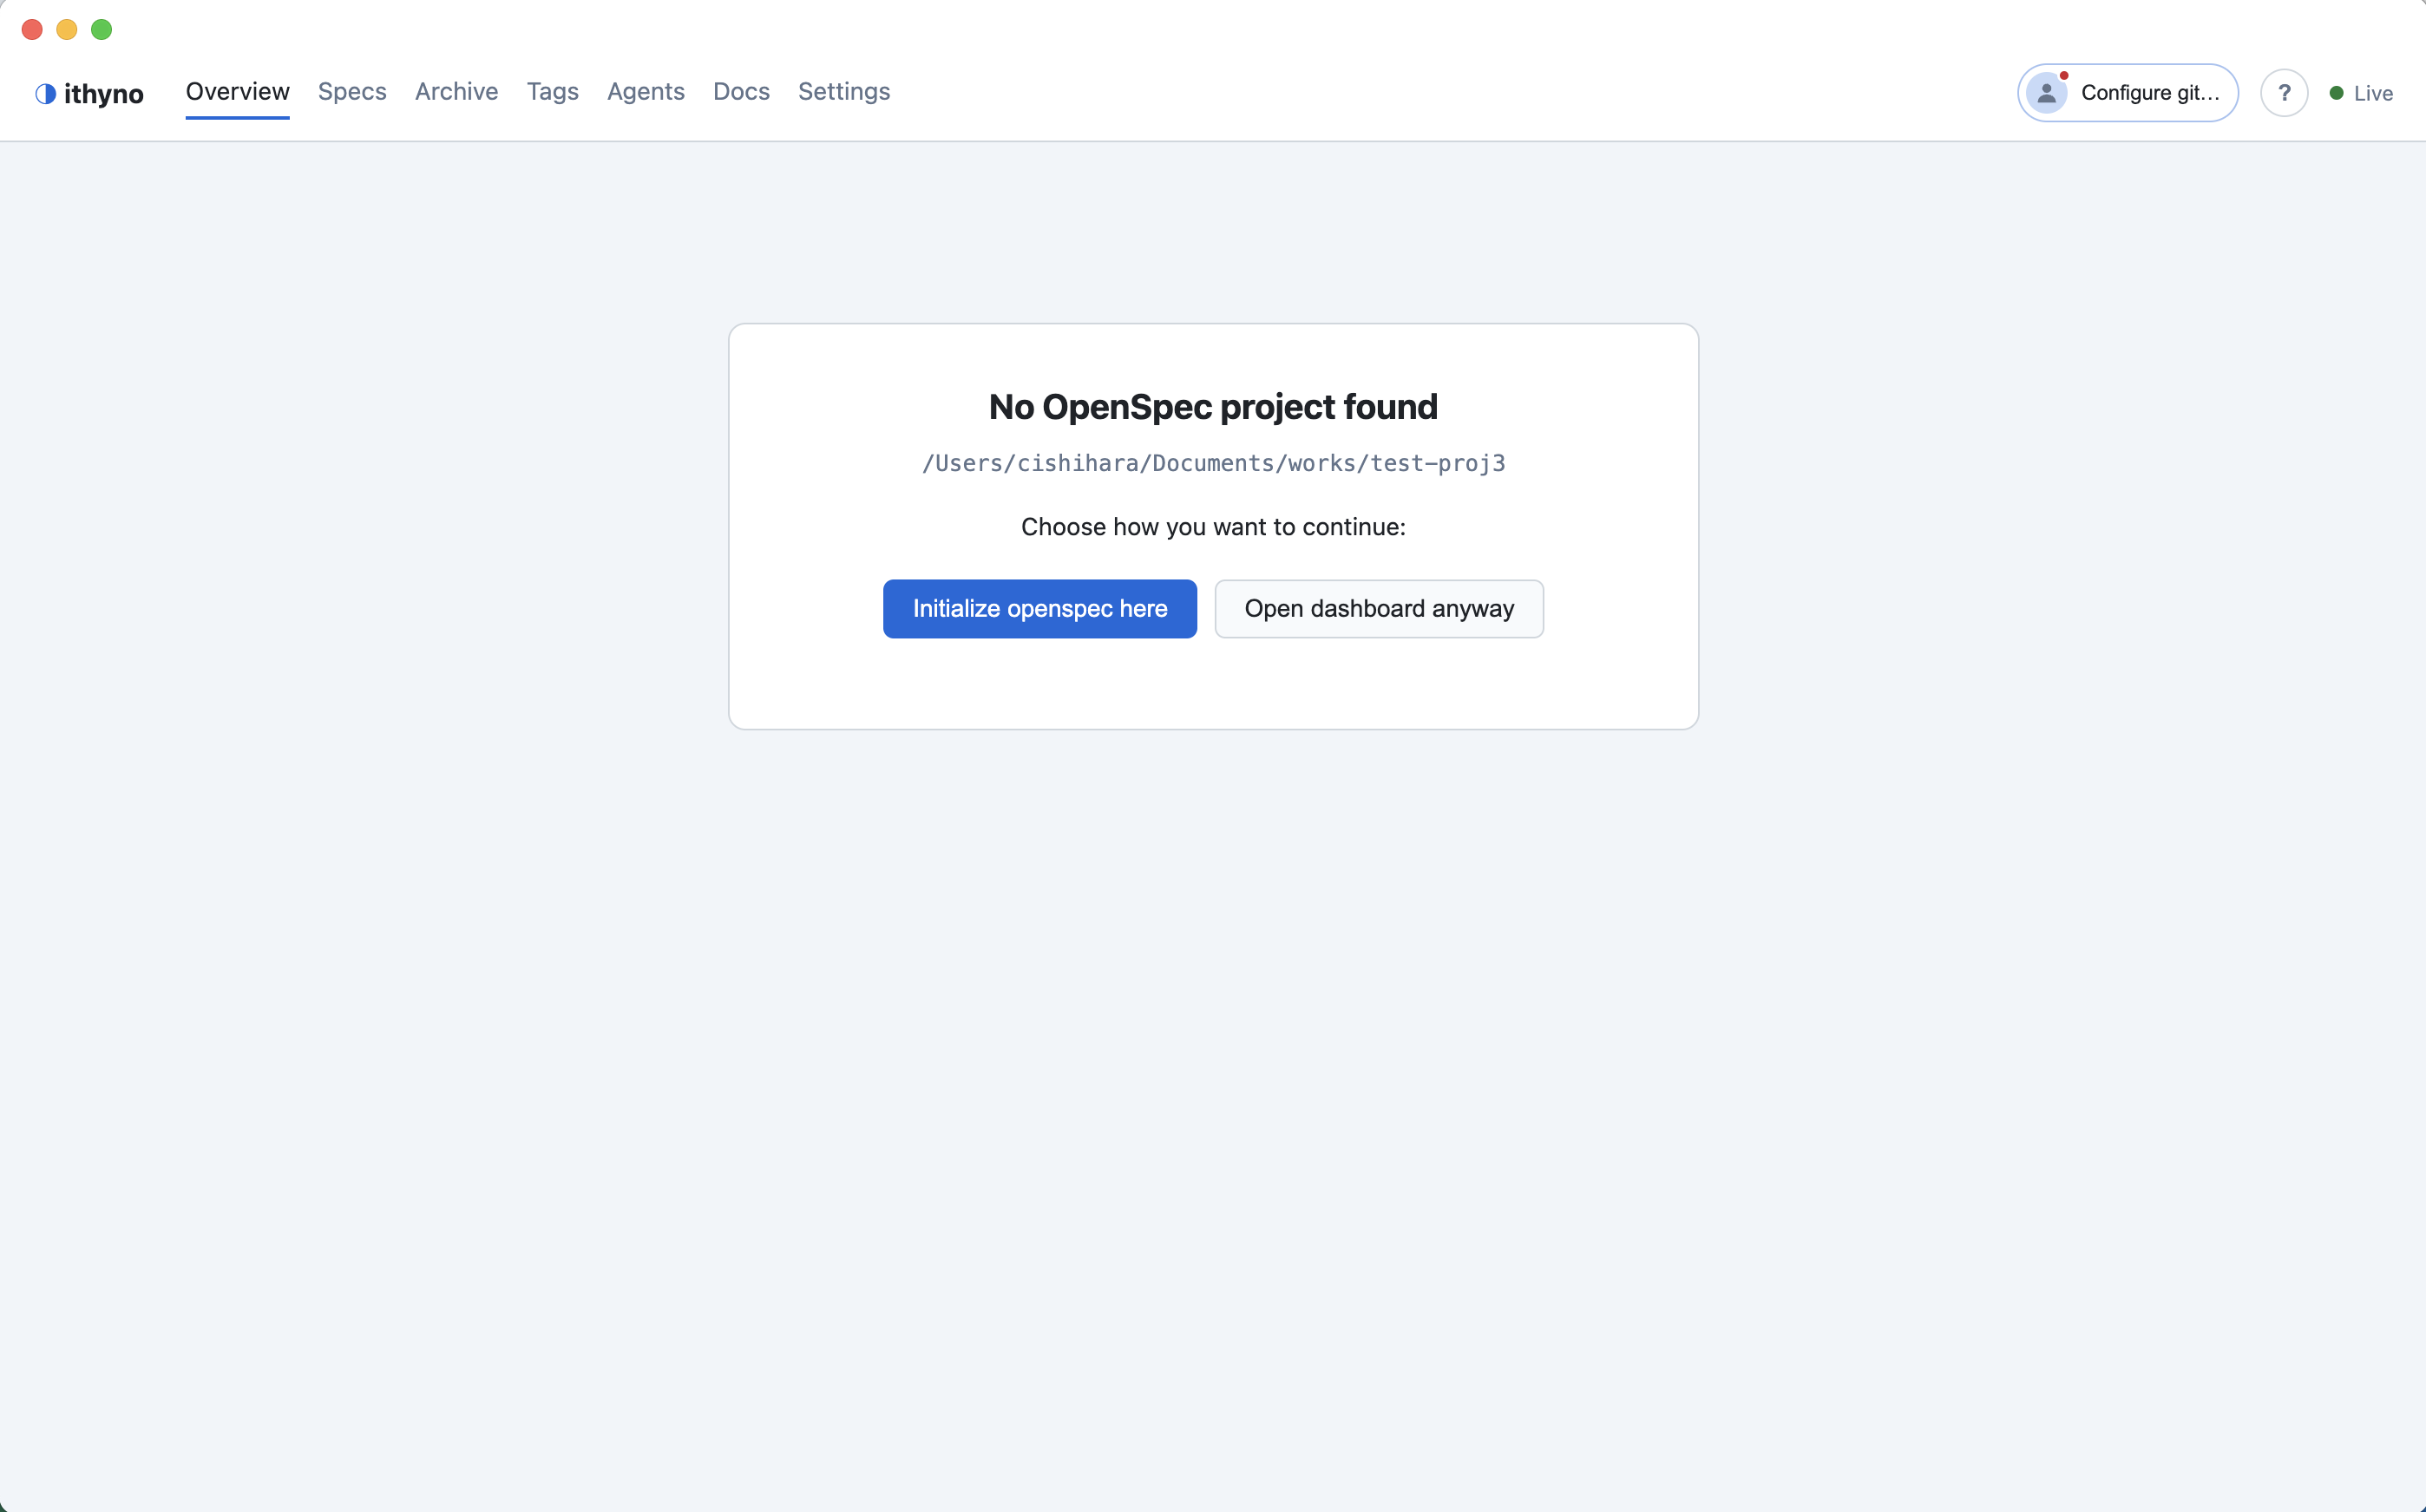
- For a folder without OpenSpec, select Initialize openspec here.
- Complete setup in the onboarding window, then select Open Project. The app switches to the initialized project and opens its dashboard.
The app remembers recent projects, which can be reopened from File → Open Recent.
Choose a project in the Electron App
2. Initialize the project
The onboarding screen checks the required tools and shows only installed, Manager-capable agent CLIs in the Manager picker.
- Confirm that Git, Node.js, and at least one supported agent CLI are available. Install or authenticate a missing agent CLI before continuing.
- Select the CLI that will act as the Manager.
- Select Continue and wait for every setup step to finish.
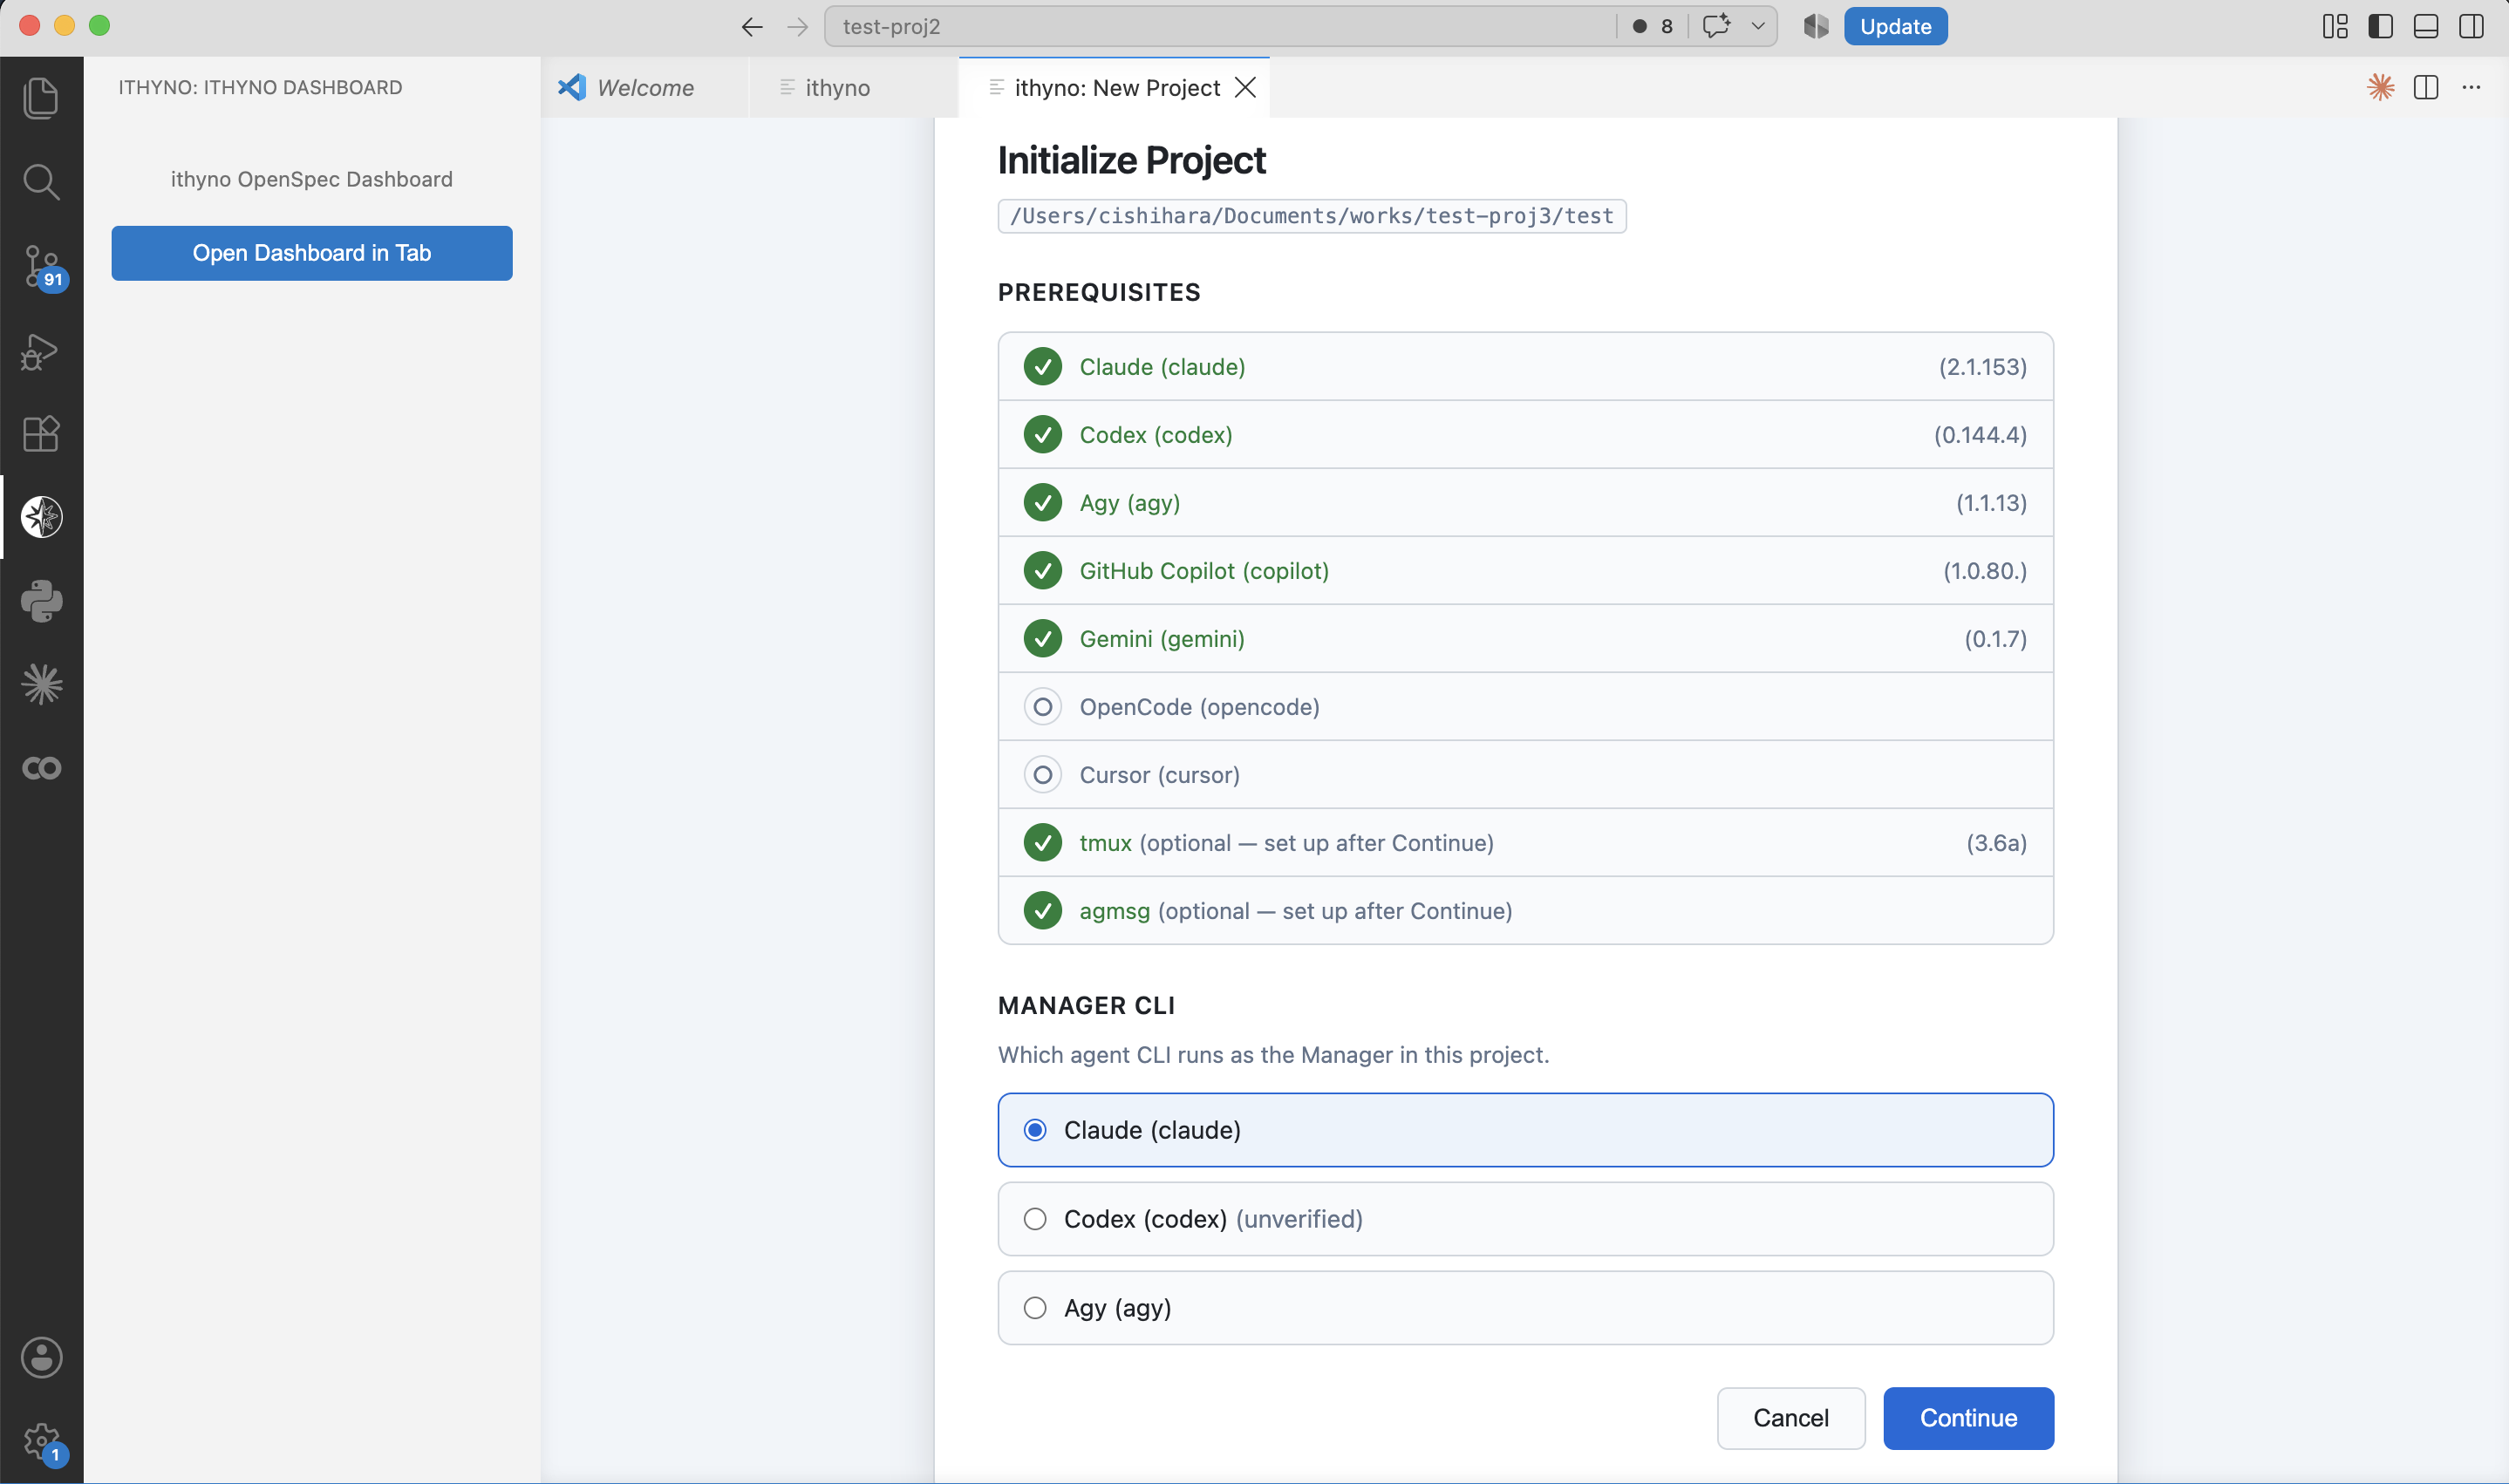
After initialization, the selected Manager runs in a VS Code terminal. Keep that terminal open while an agent is working.
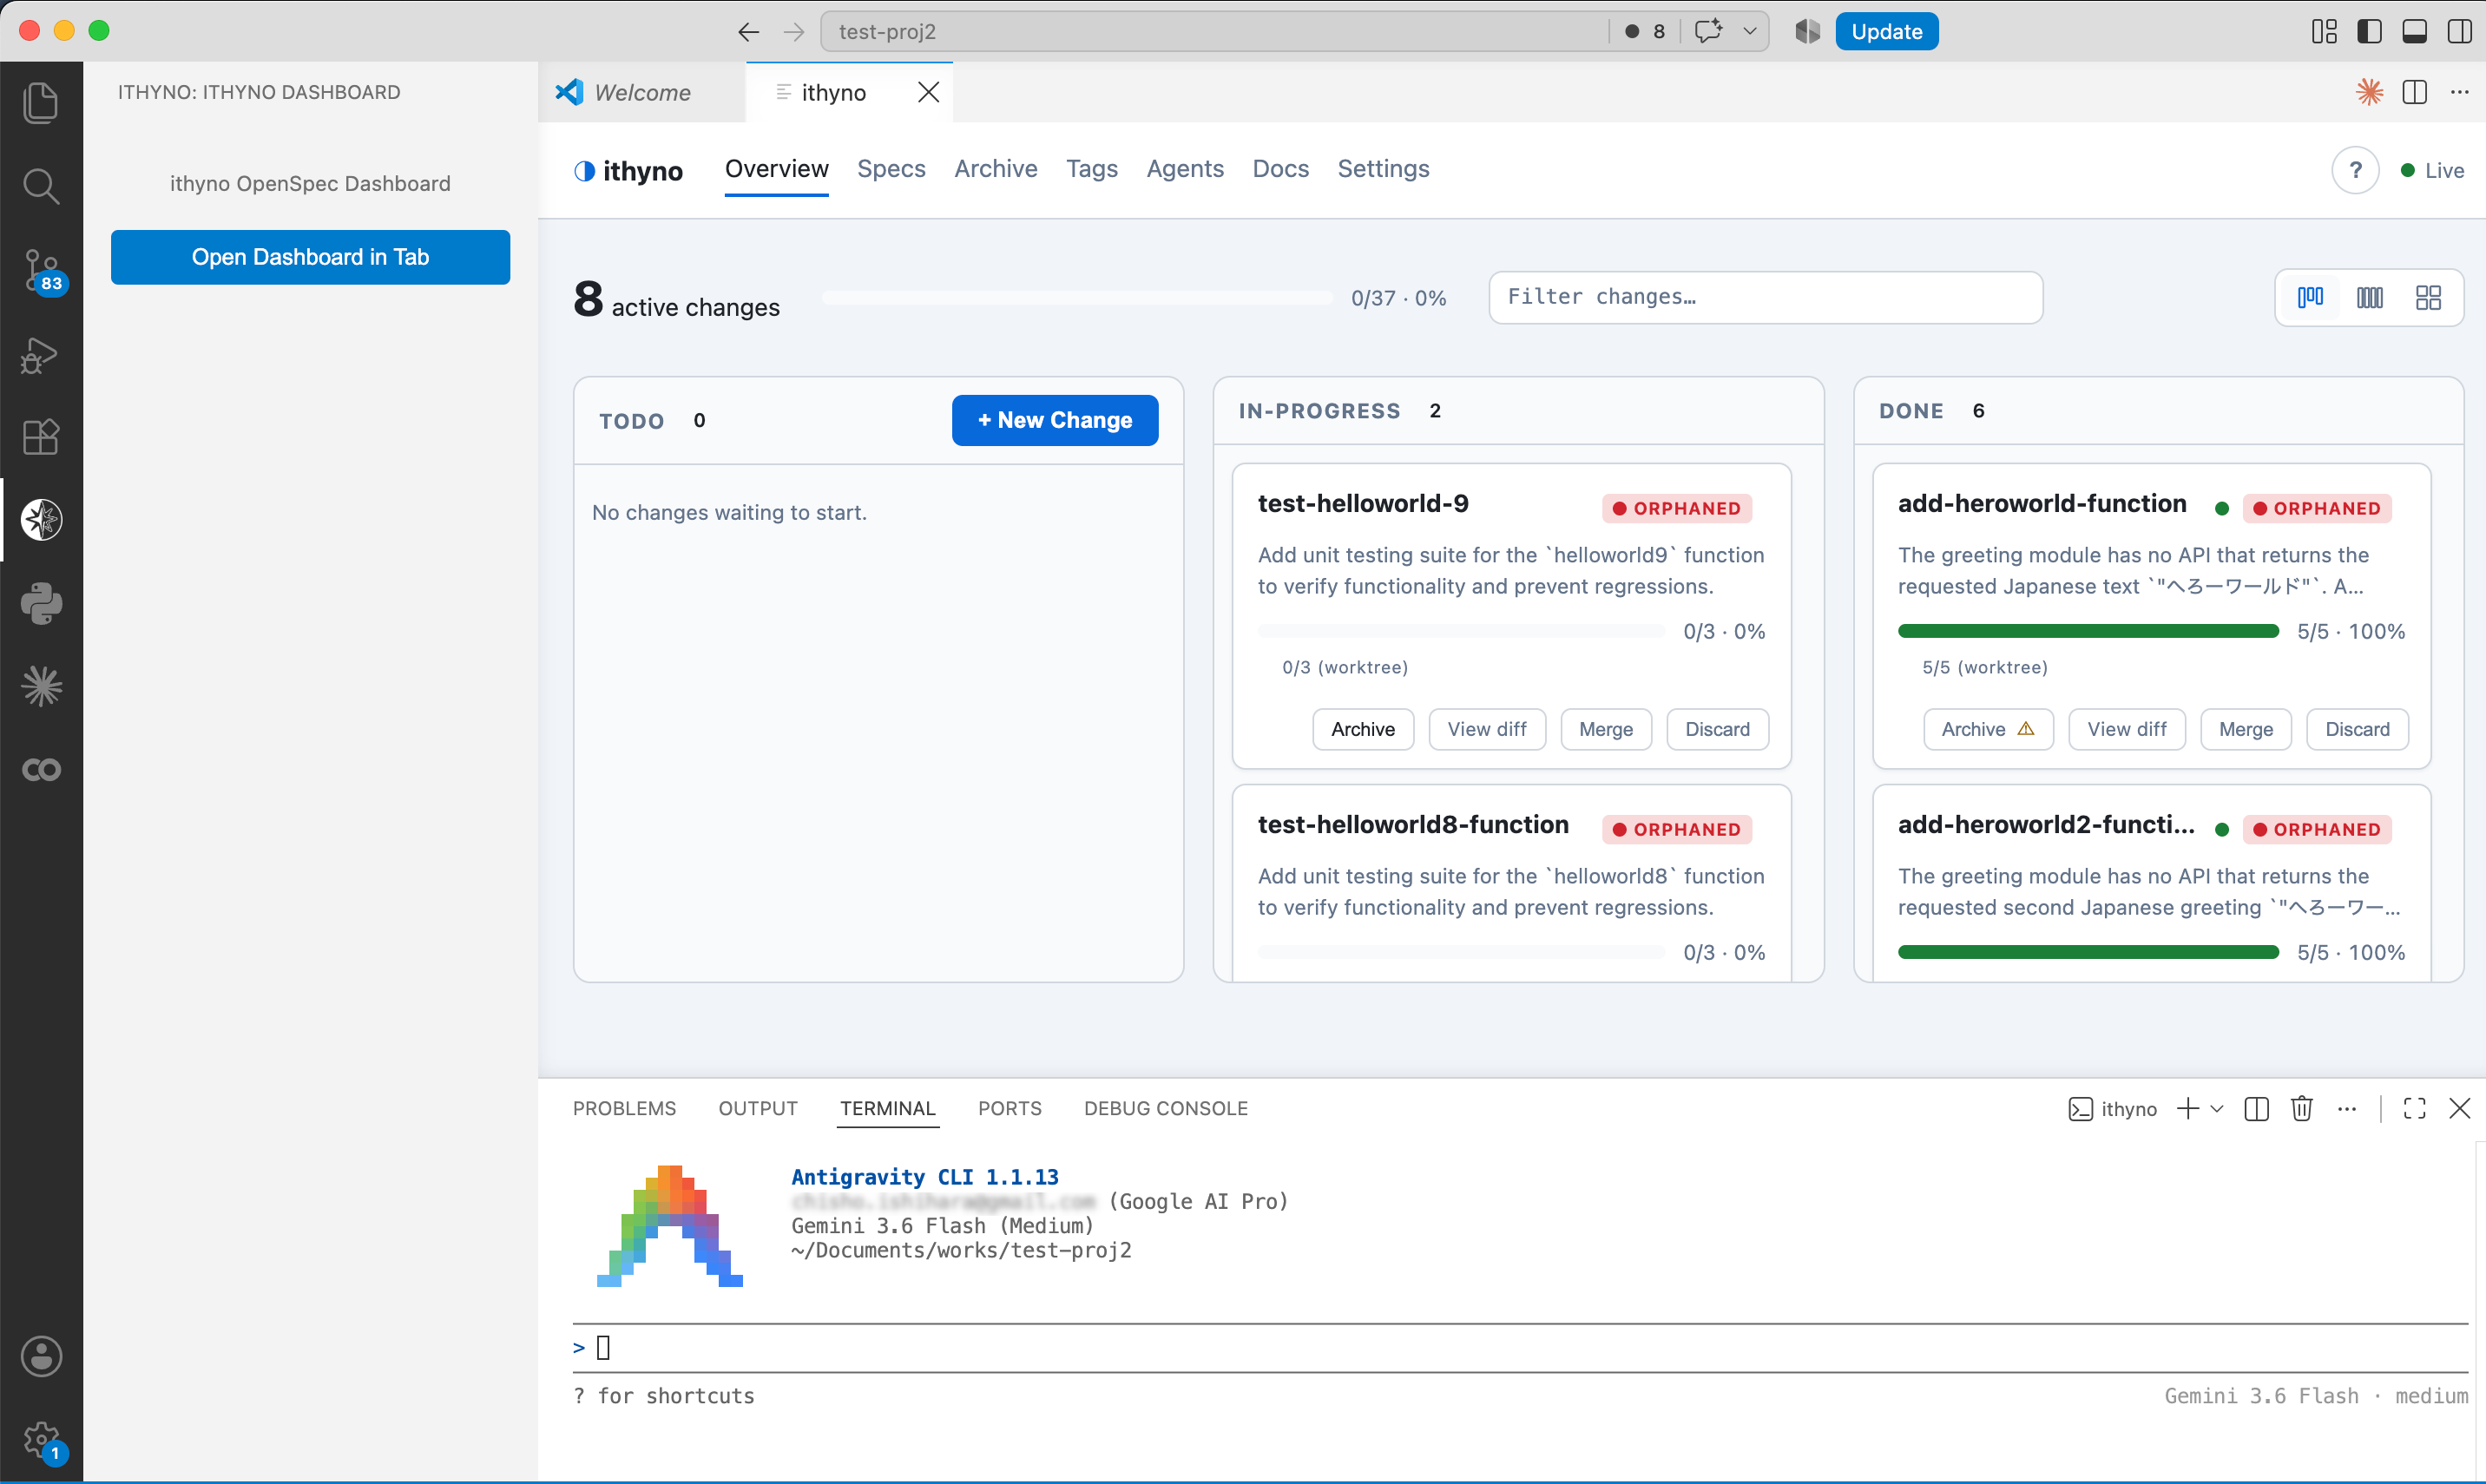
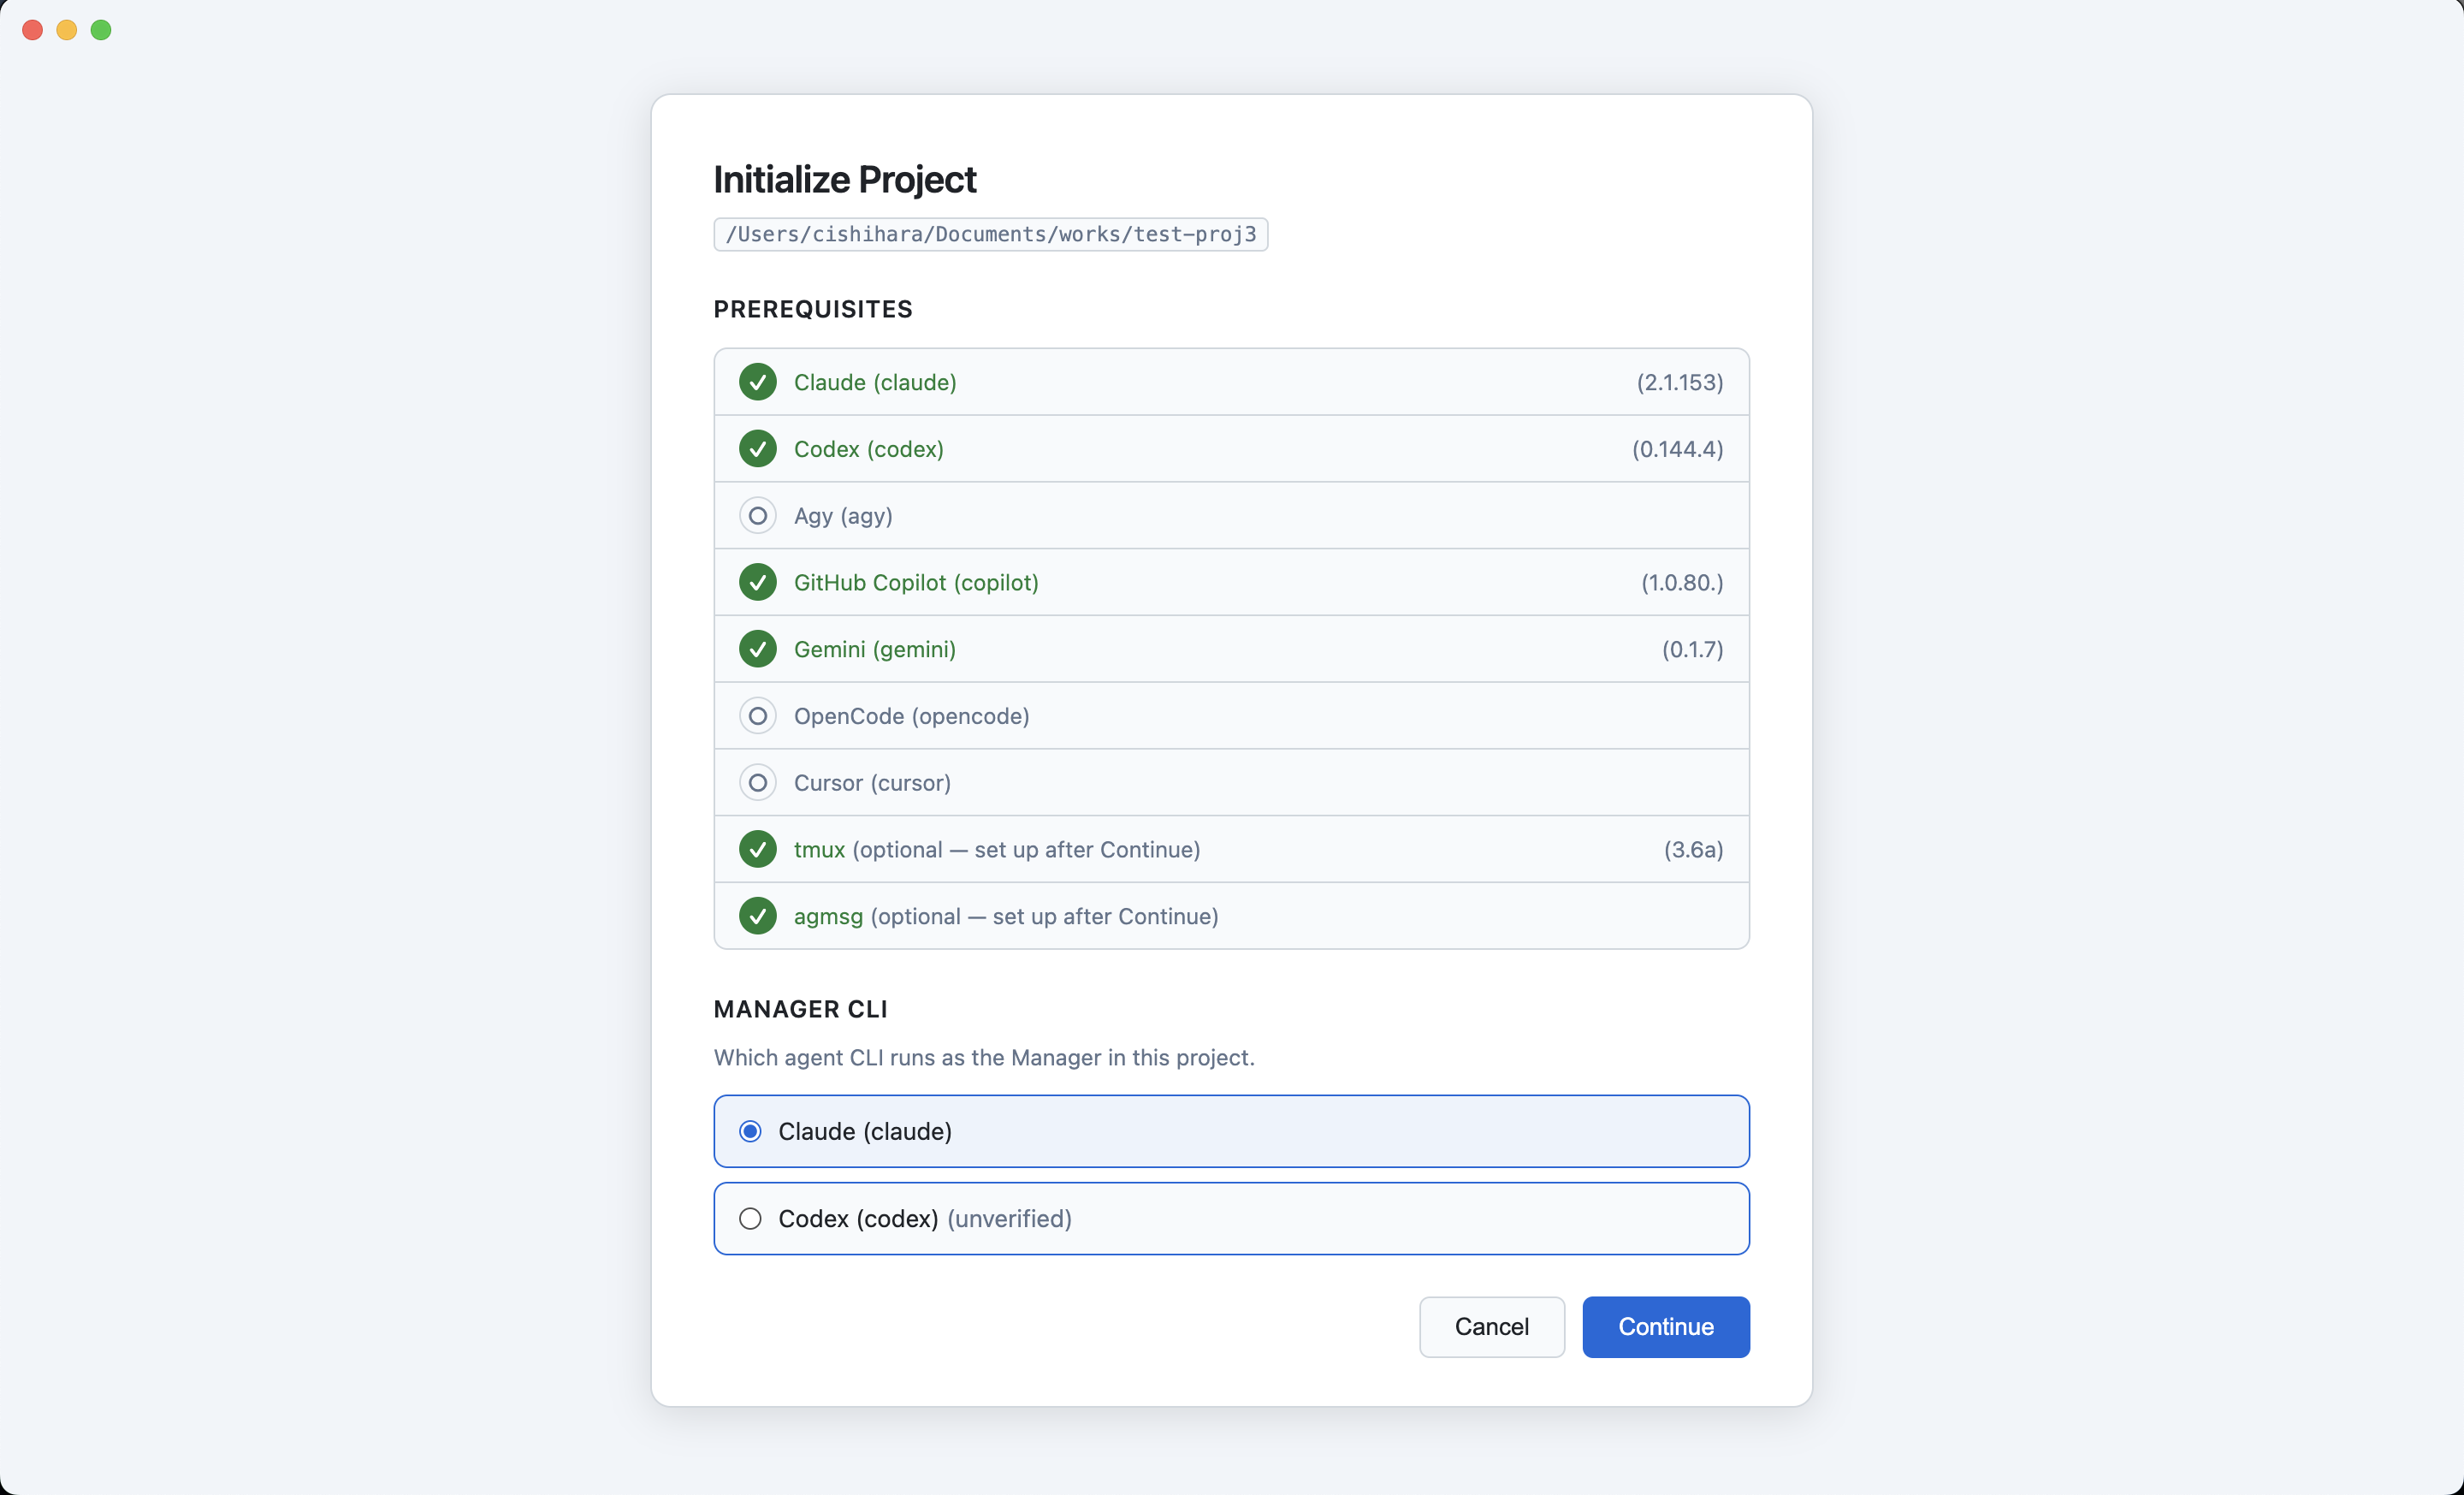
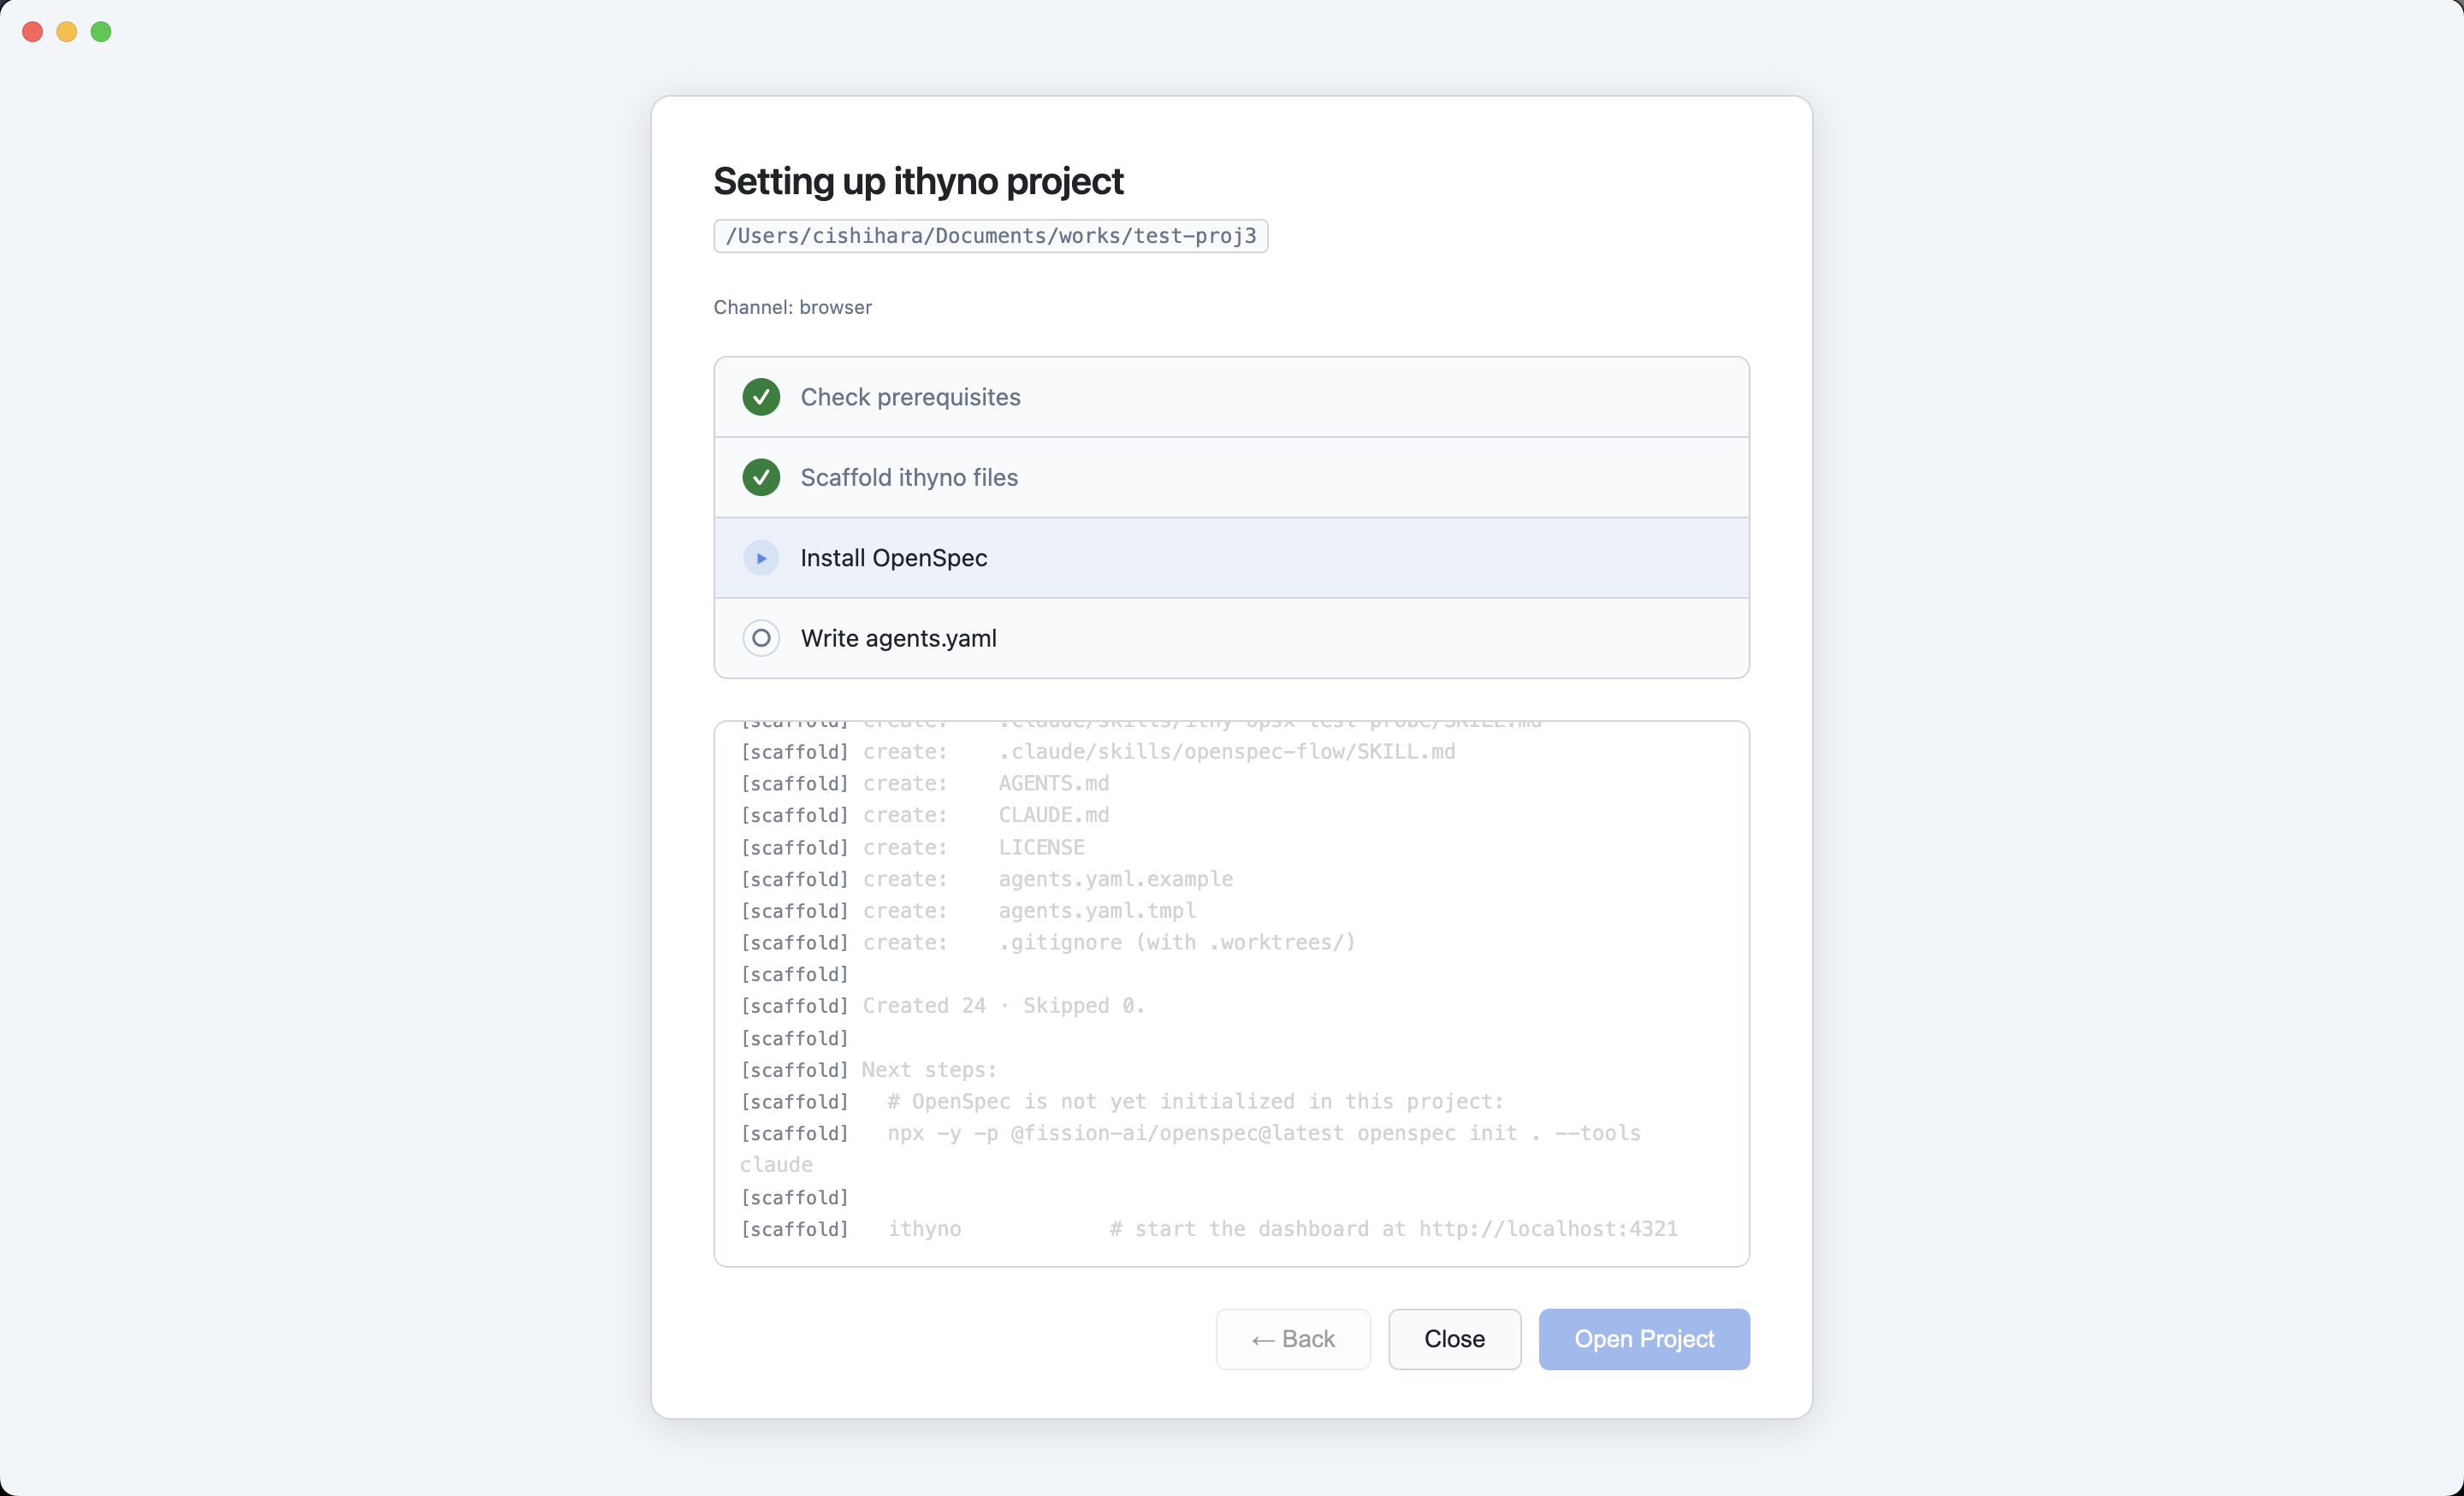
After initialization, the selected Manager runs in ithyno's embedded terminal. Keep that terminal open while an agent is working.
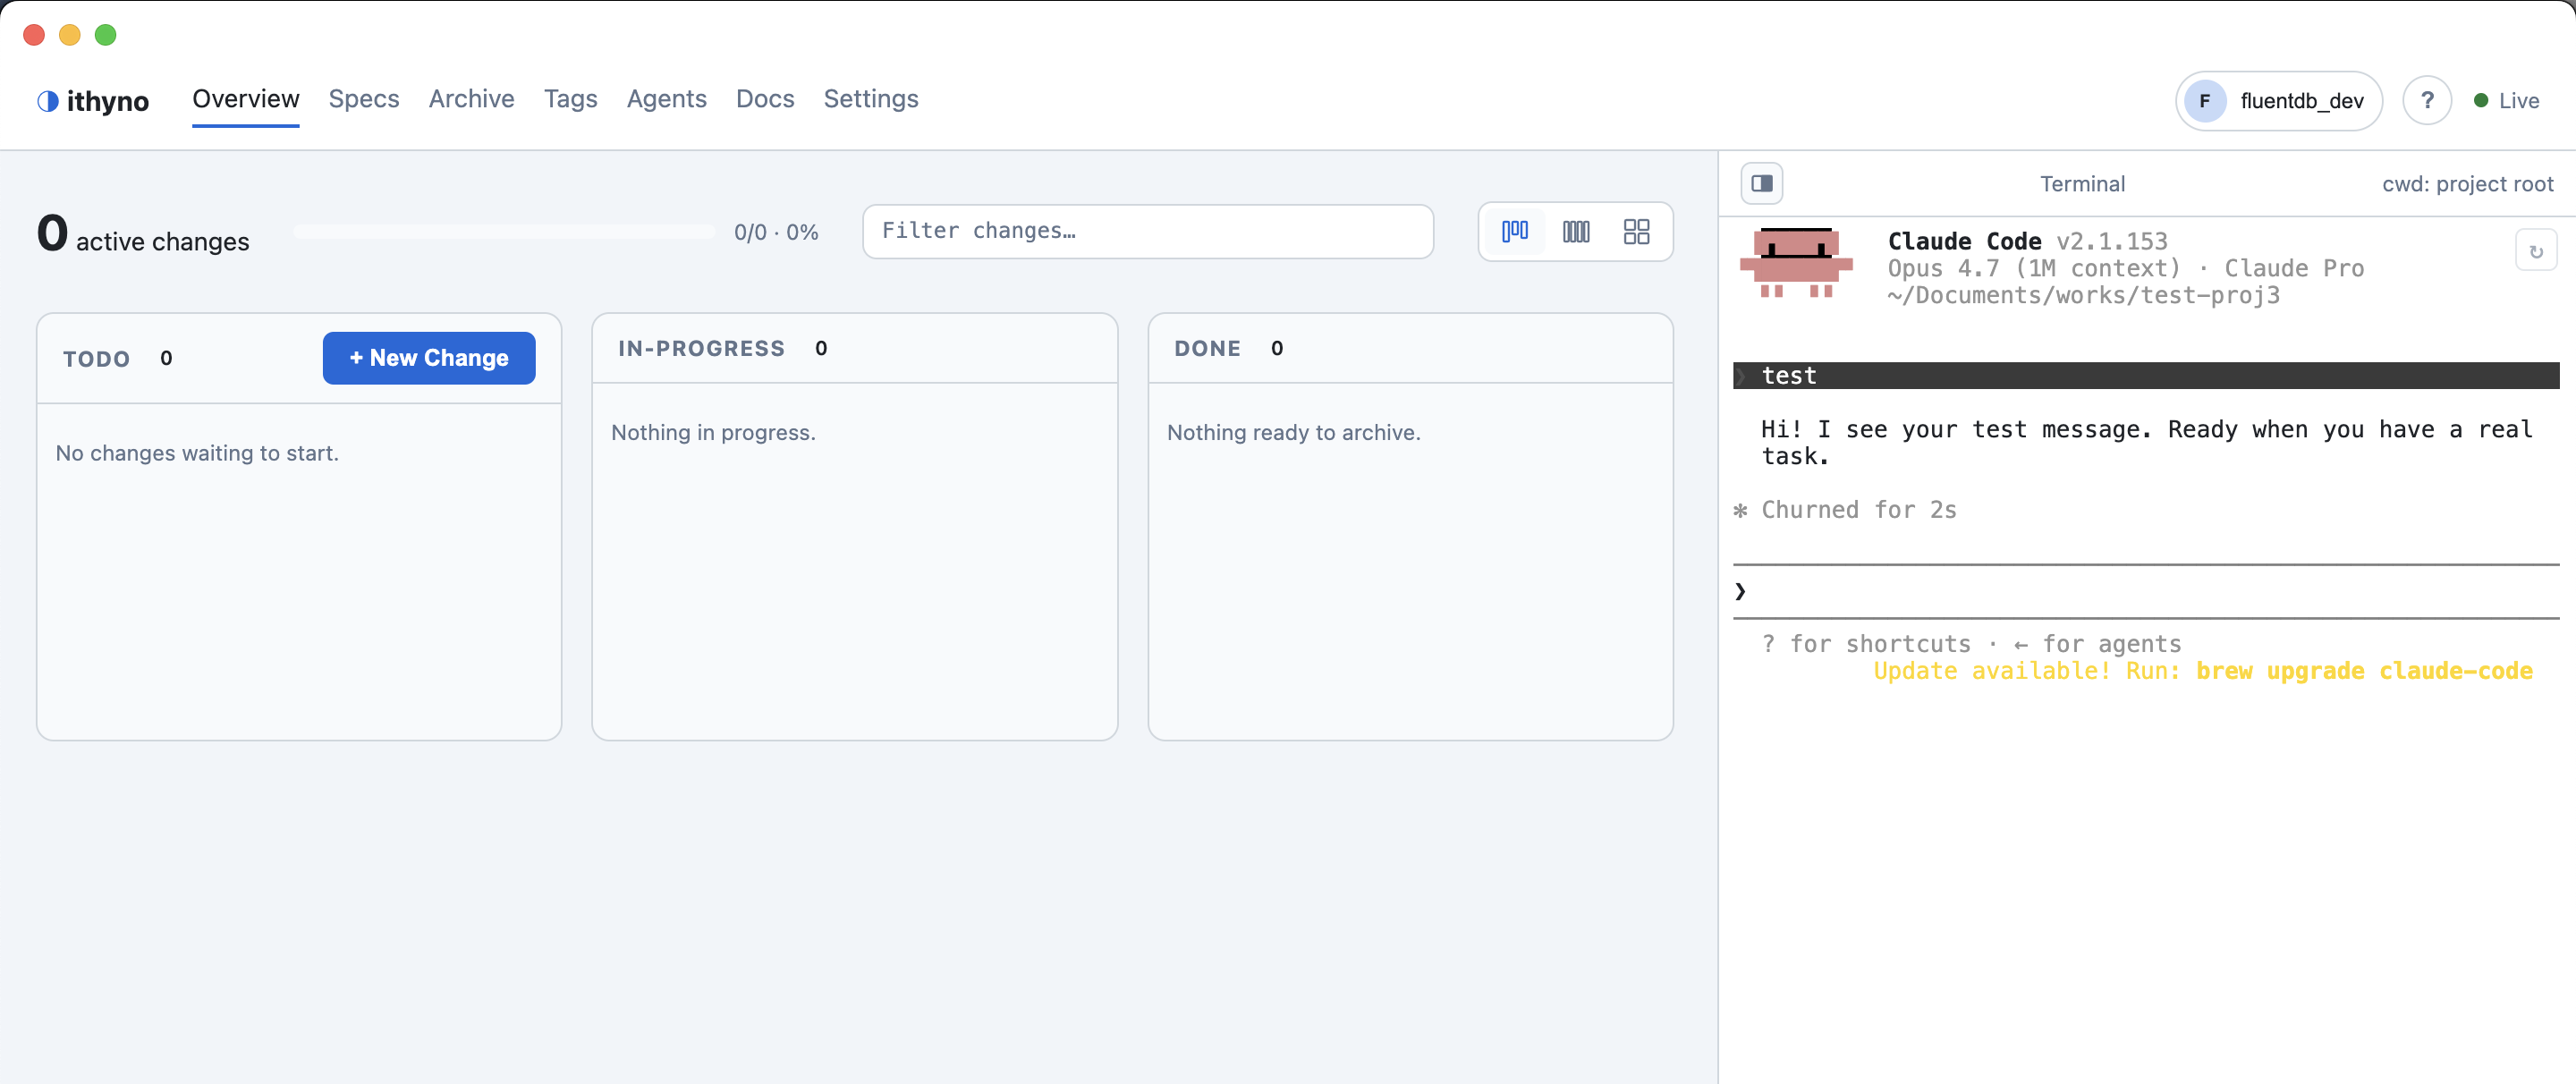
Initialization prepares the project for both OpenSpec and ithyno. It creates
the OpenSpec directories, agents.yaml, agent-facing skill files, and local
ithyno ignore entries. If the folder is not yet a Git repository, setup also
initializes Git.
3. Create the first change
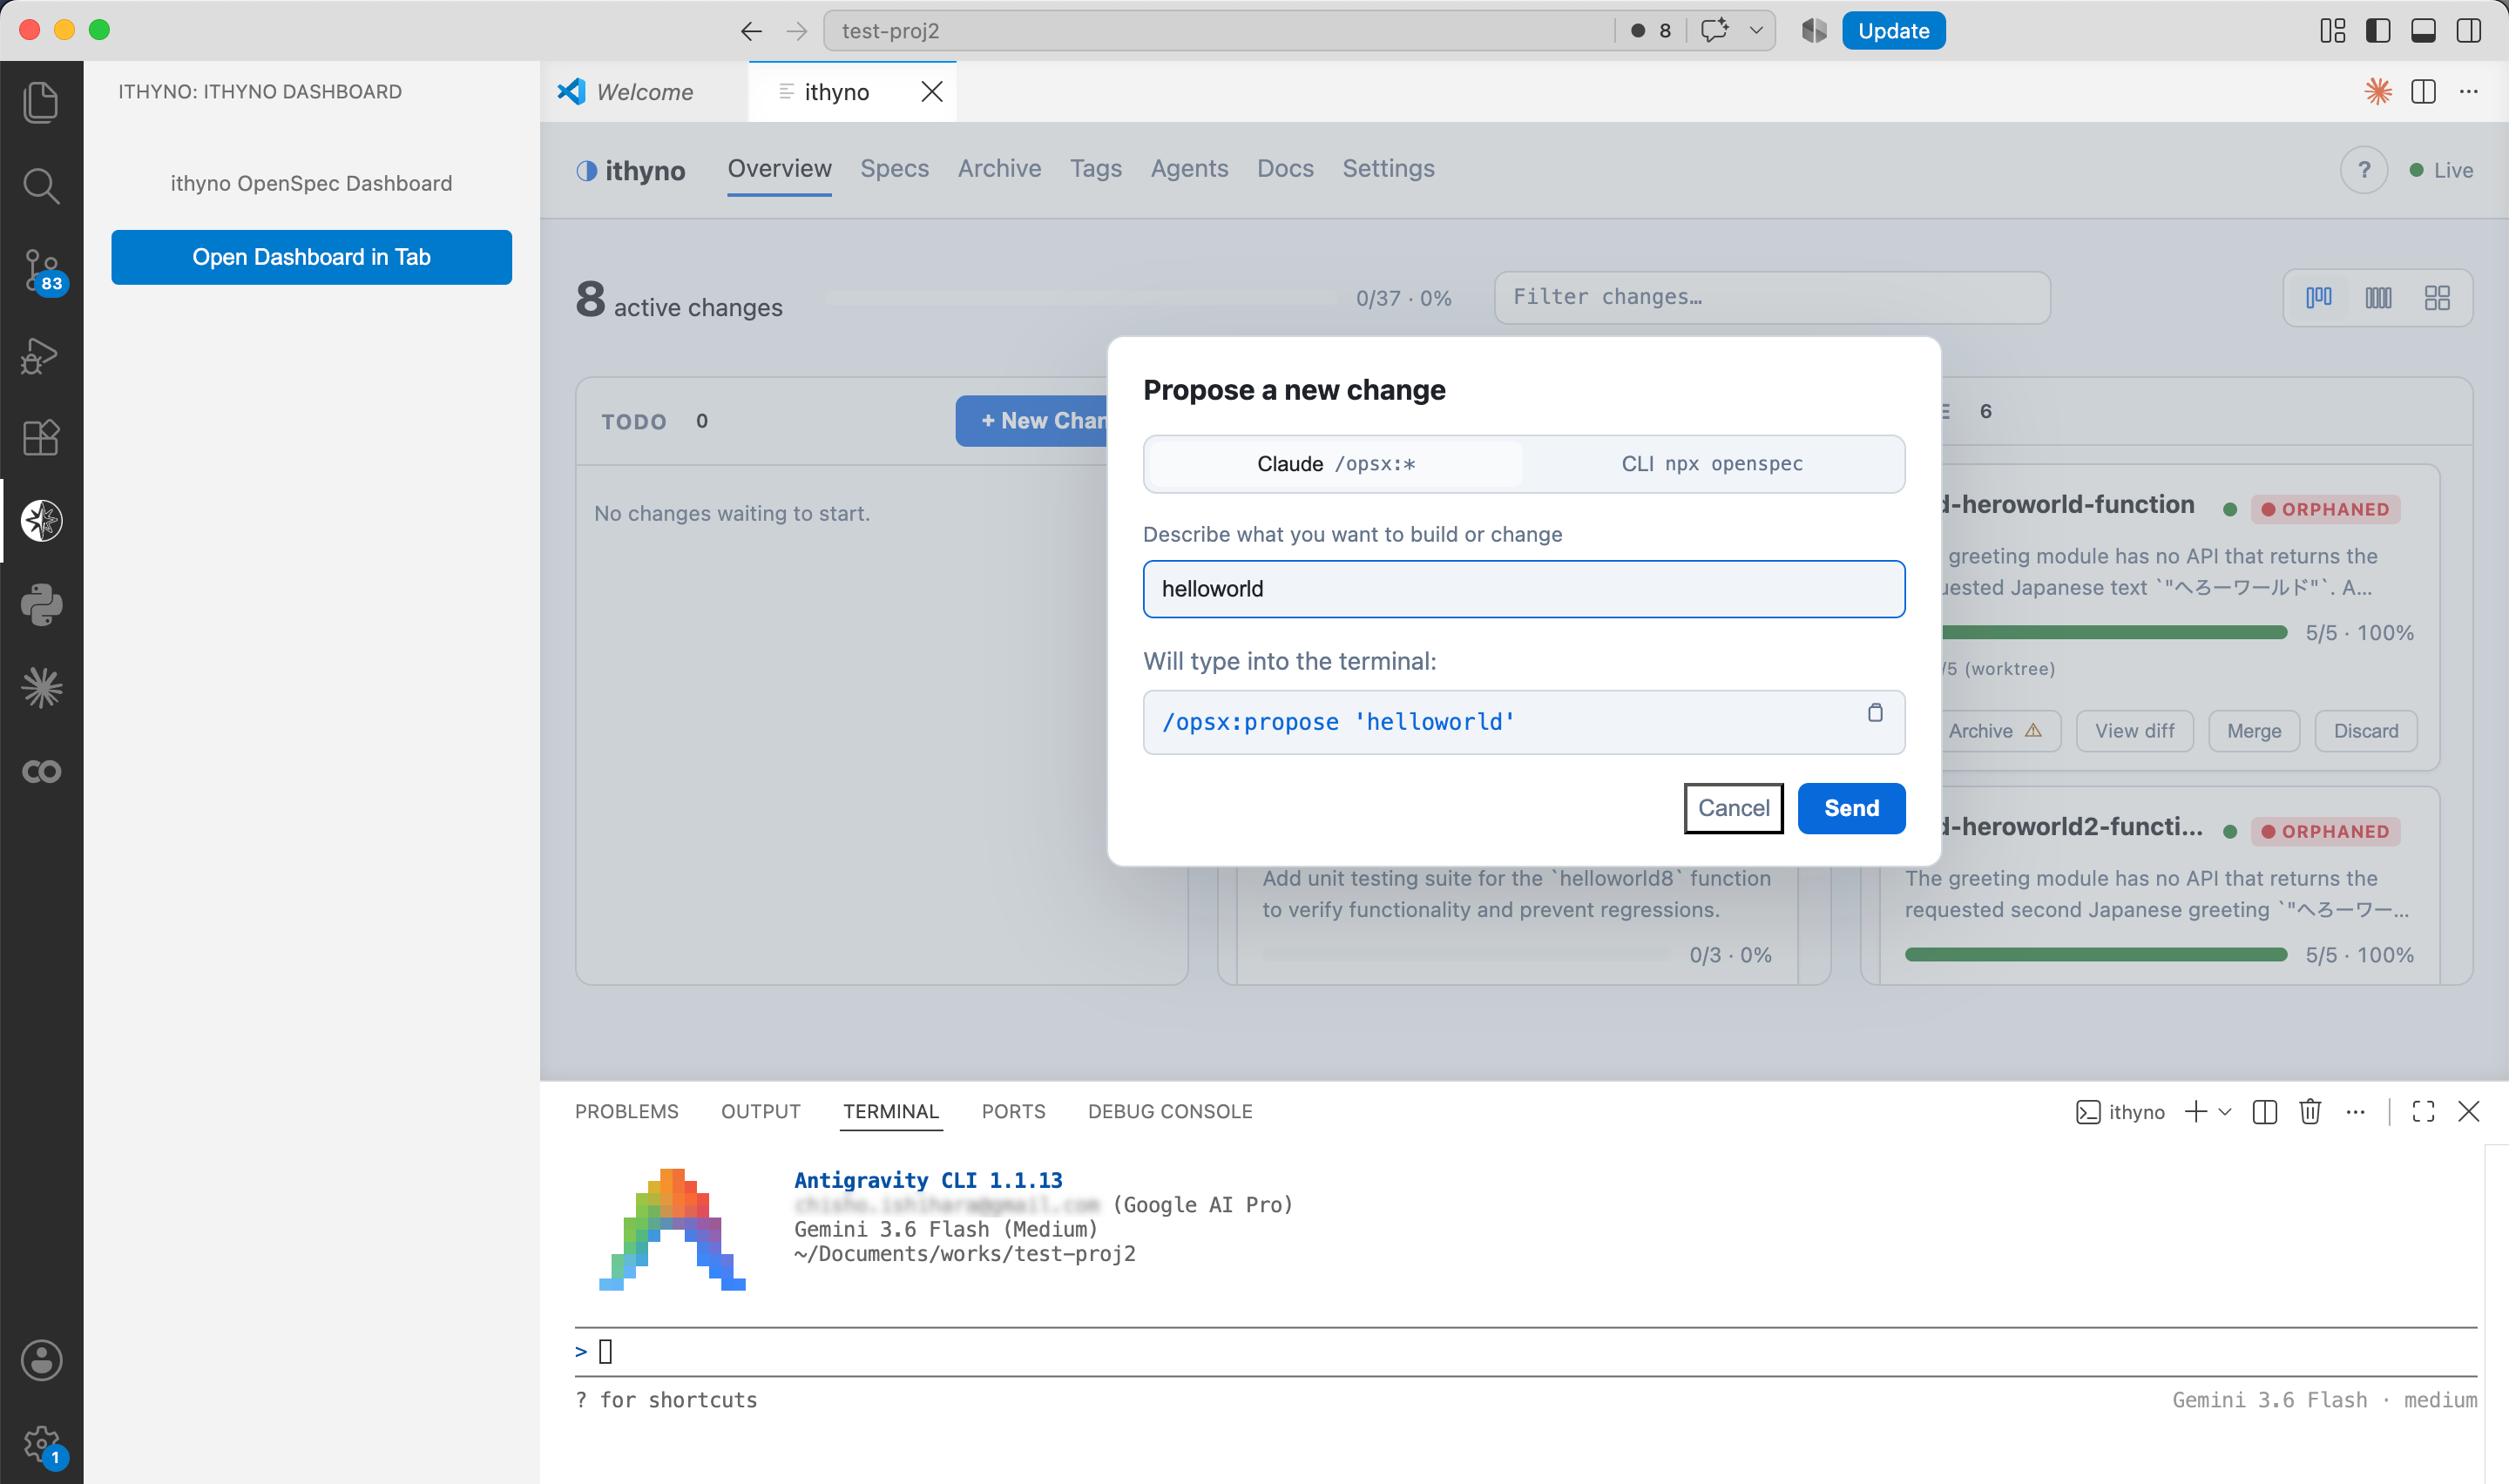
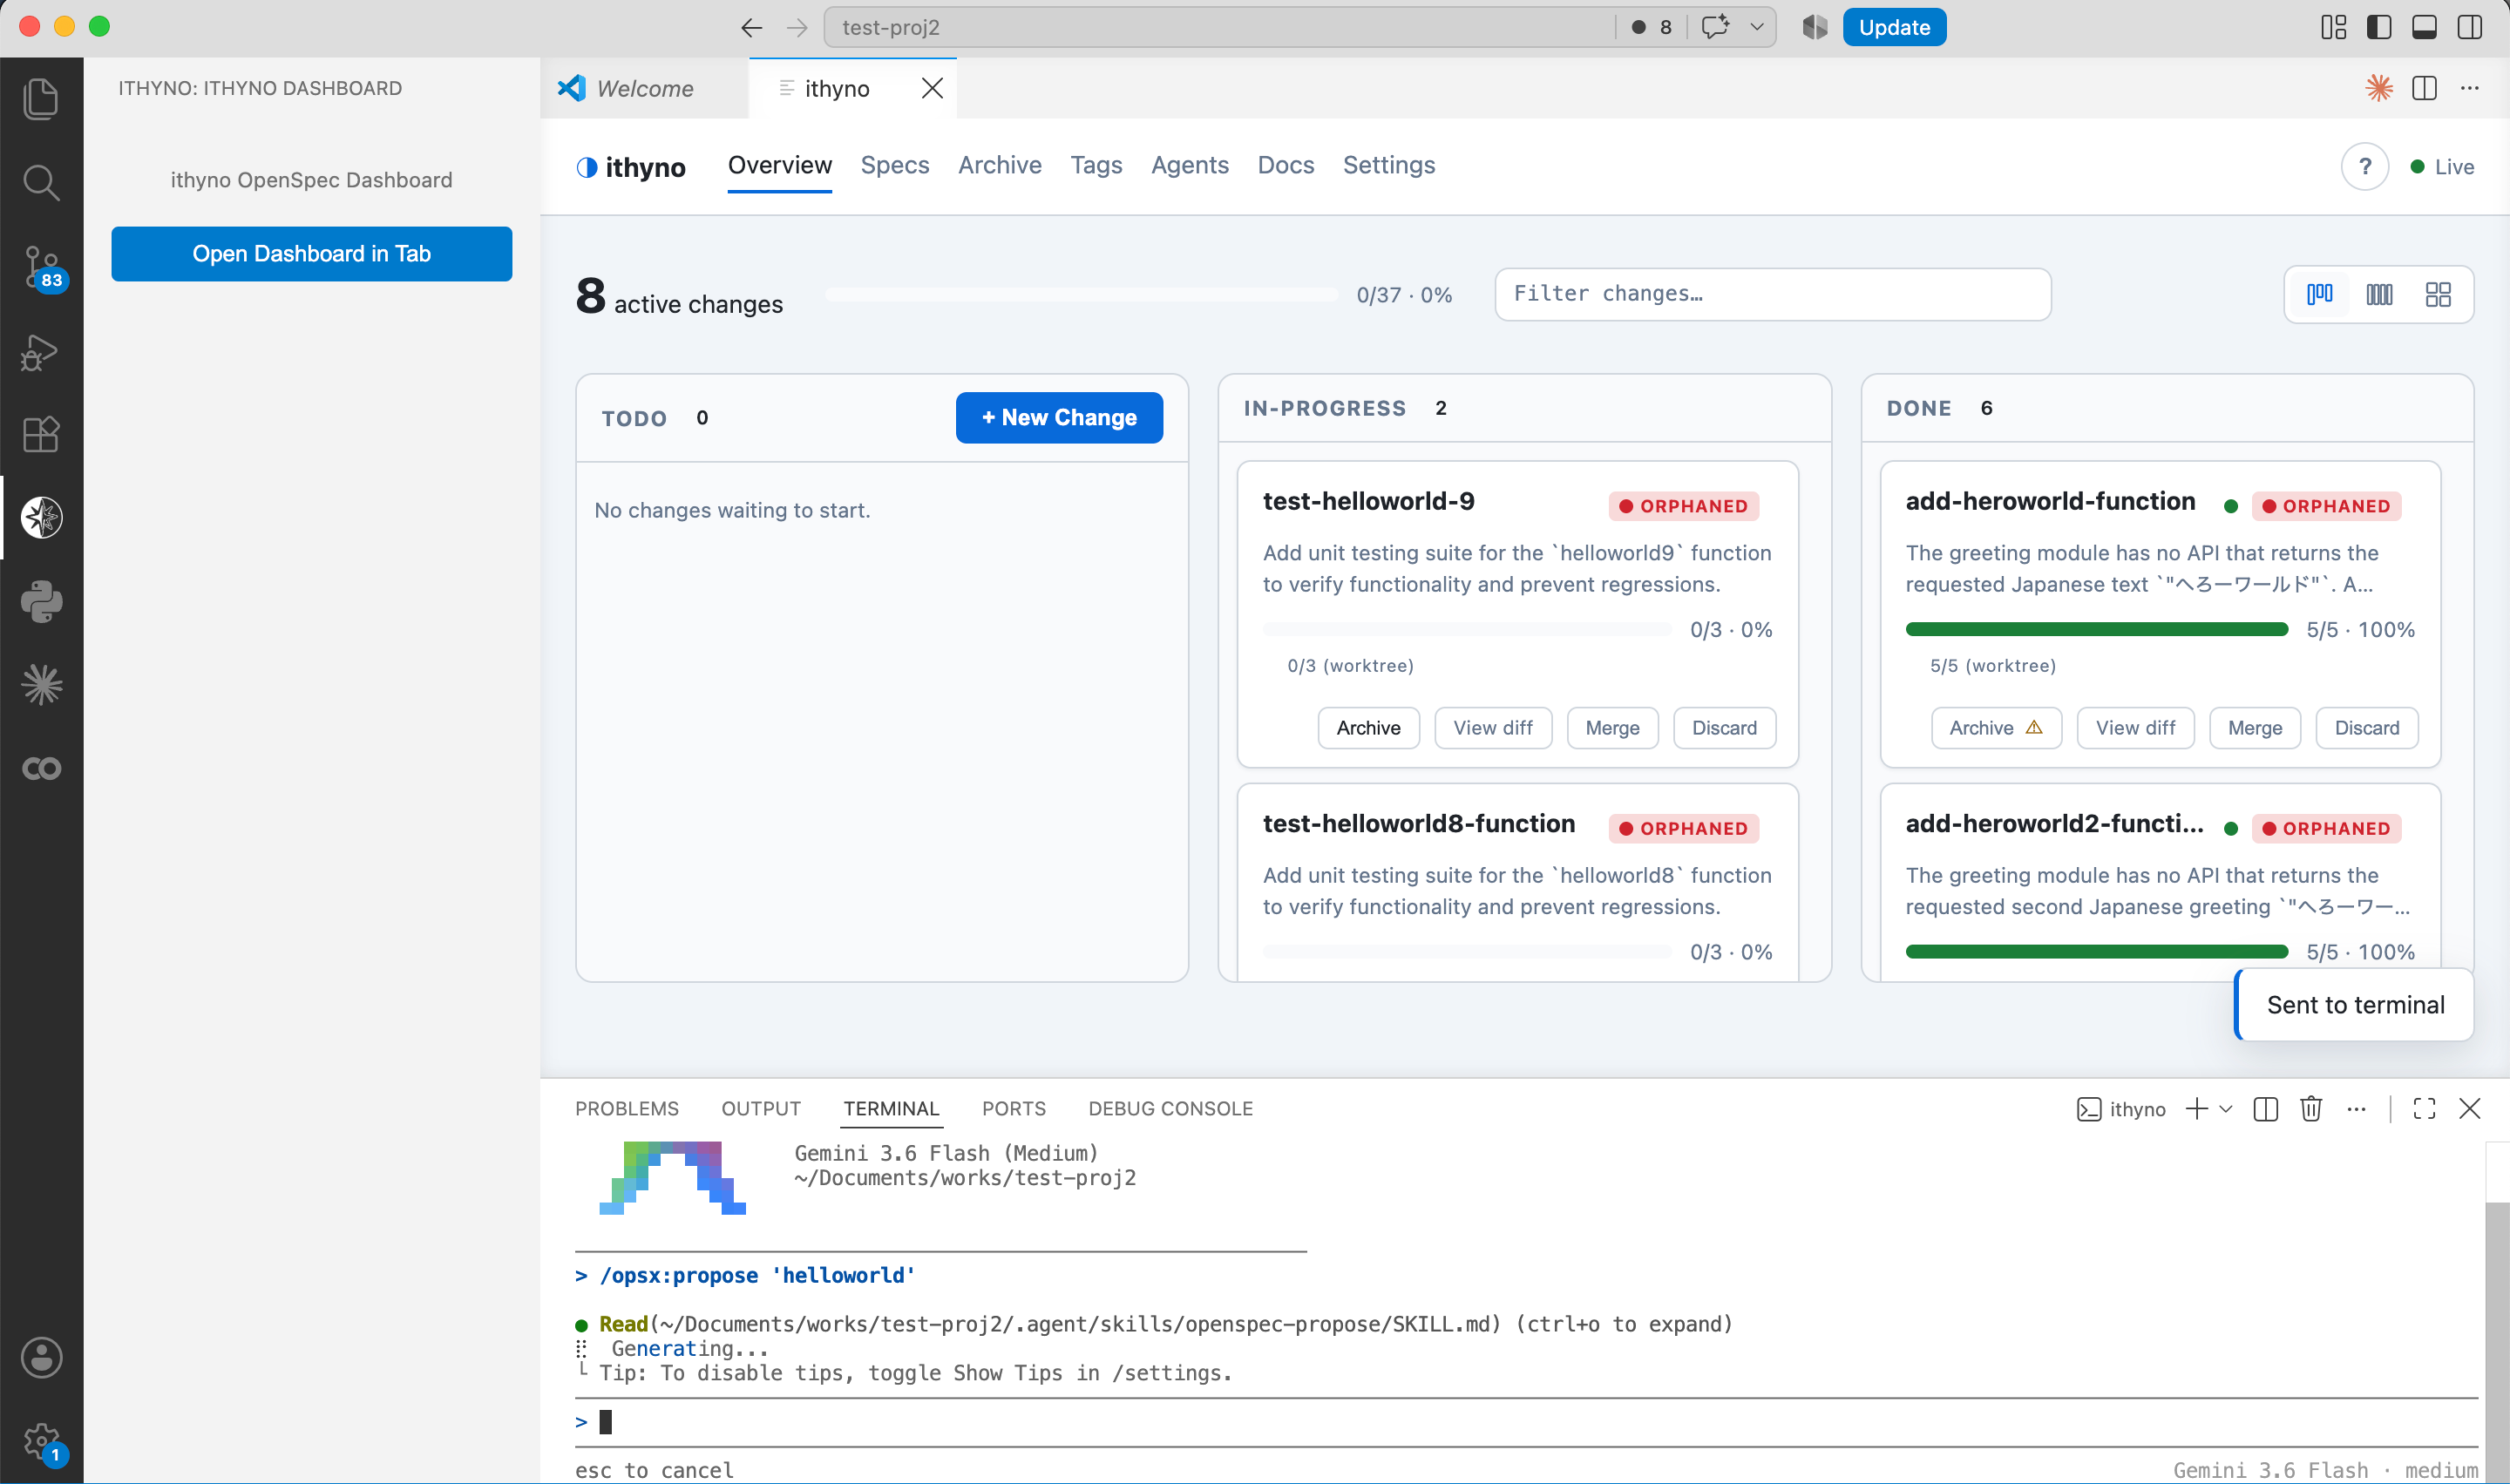
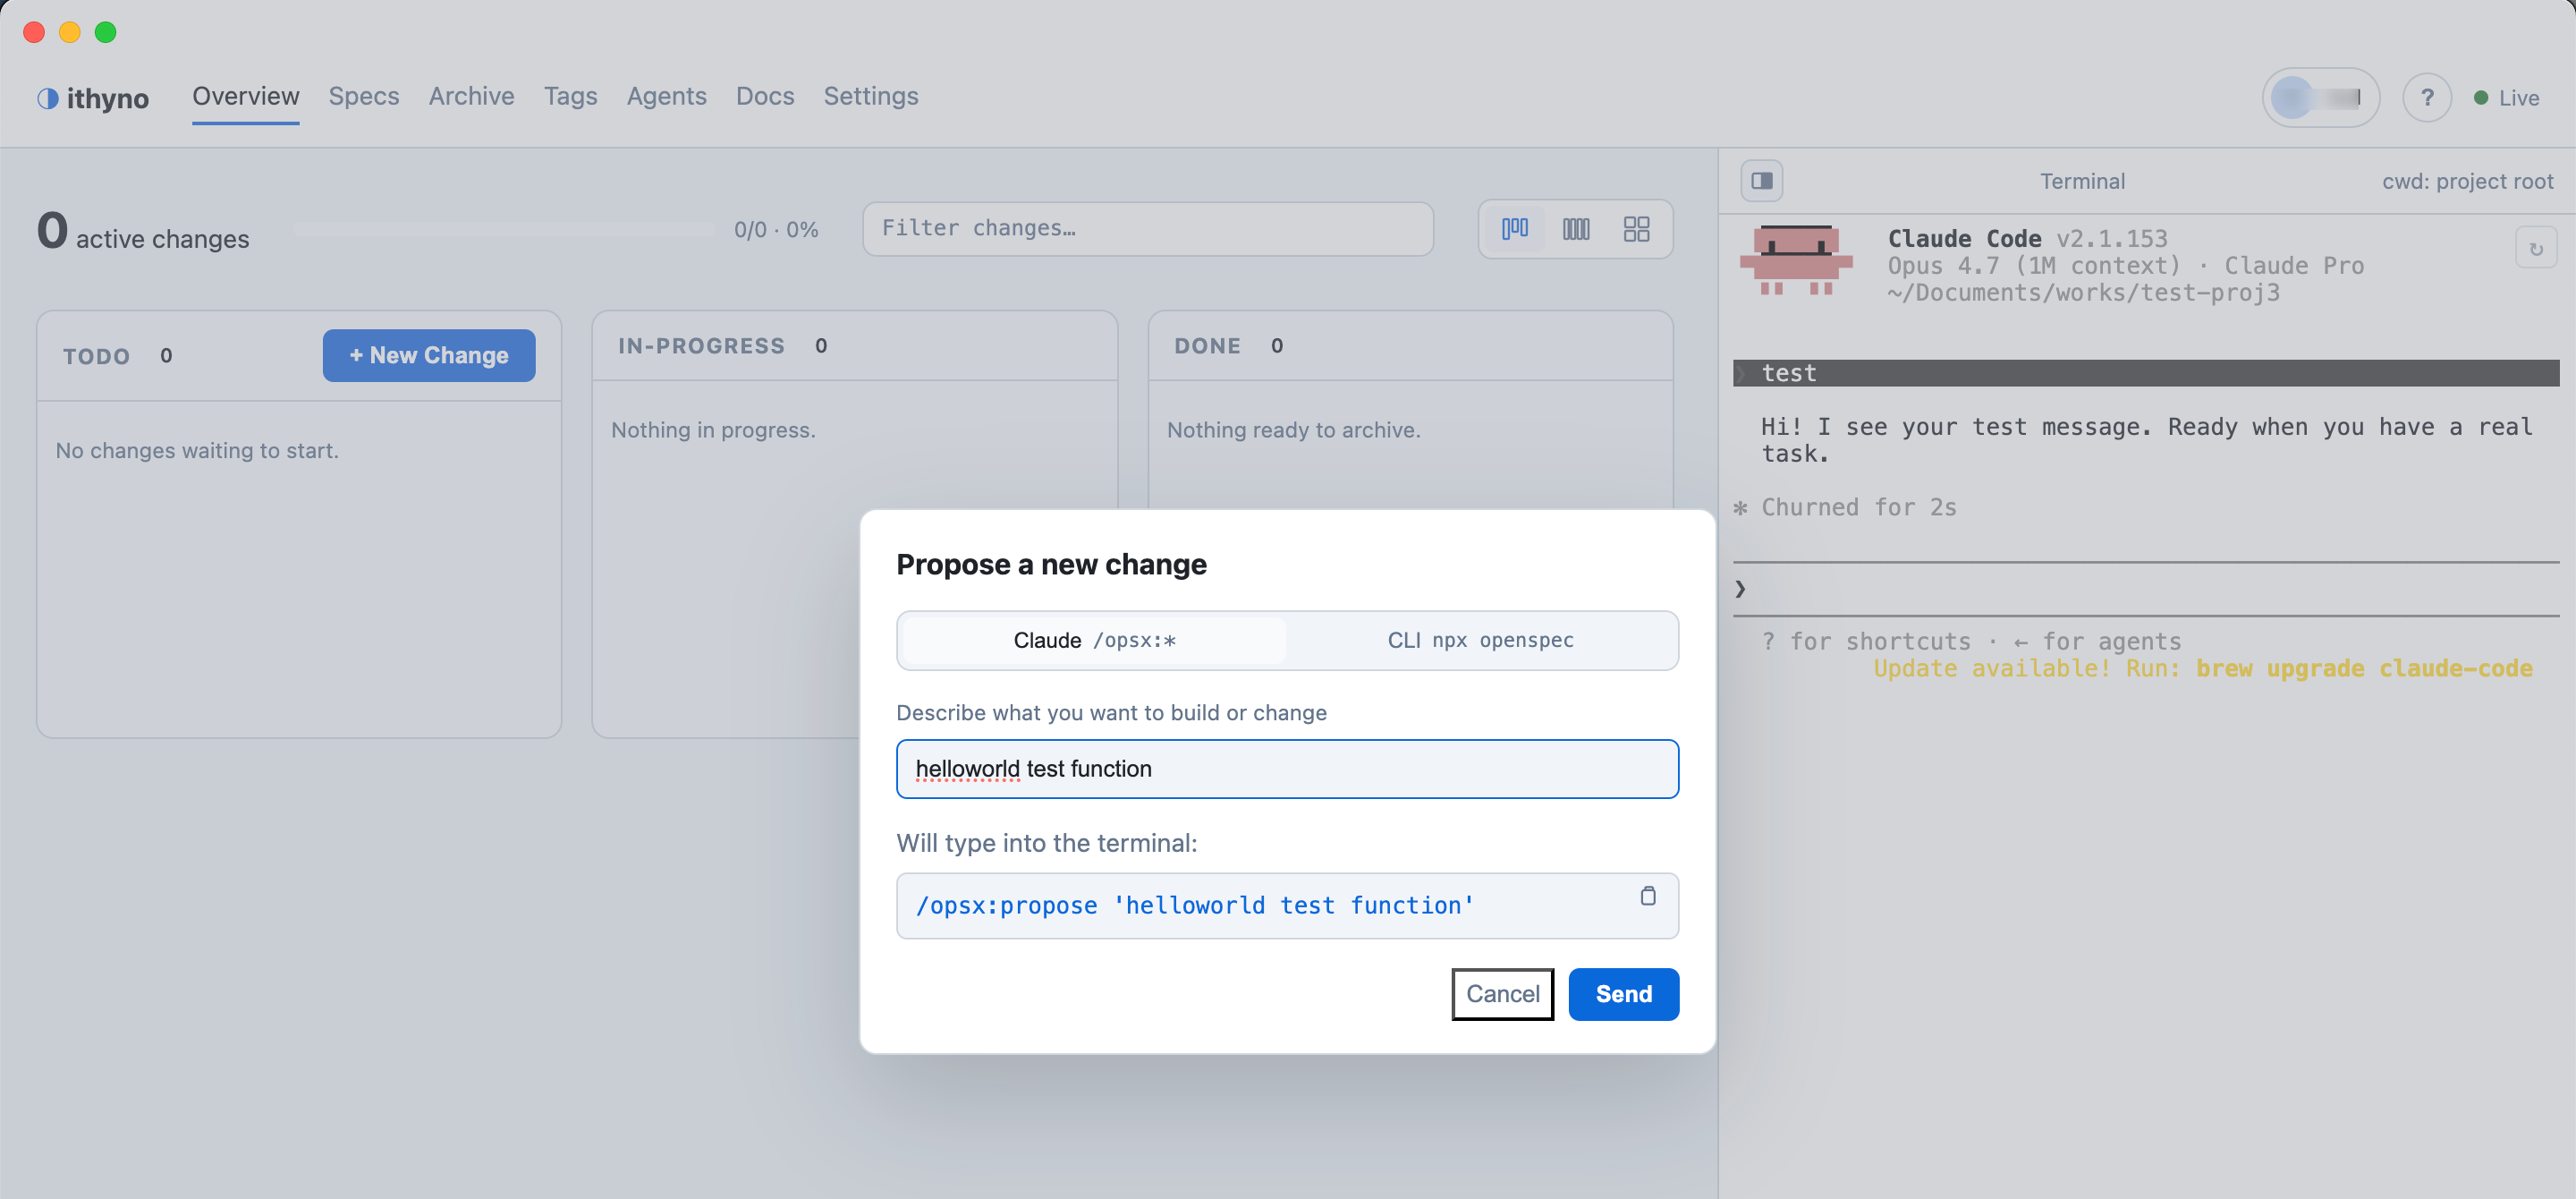
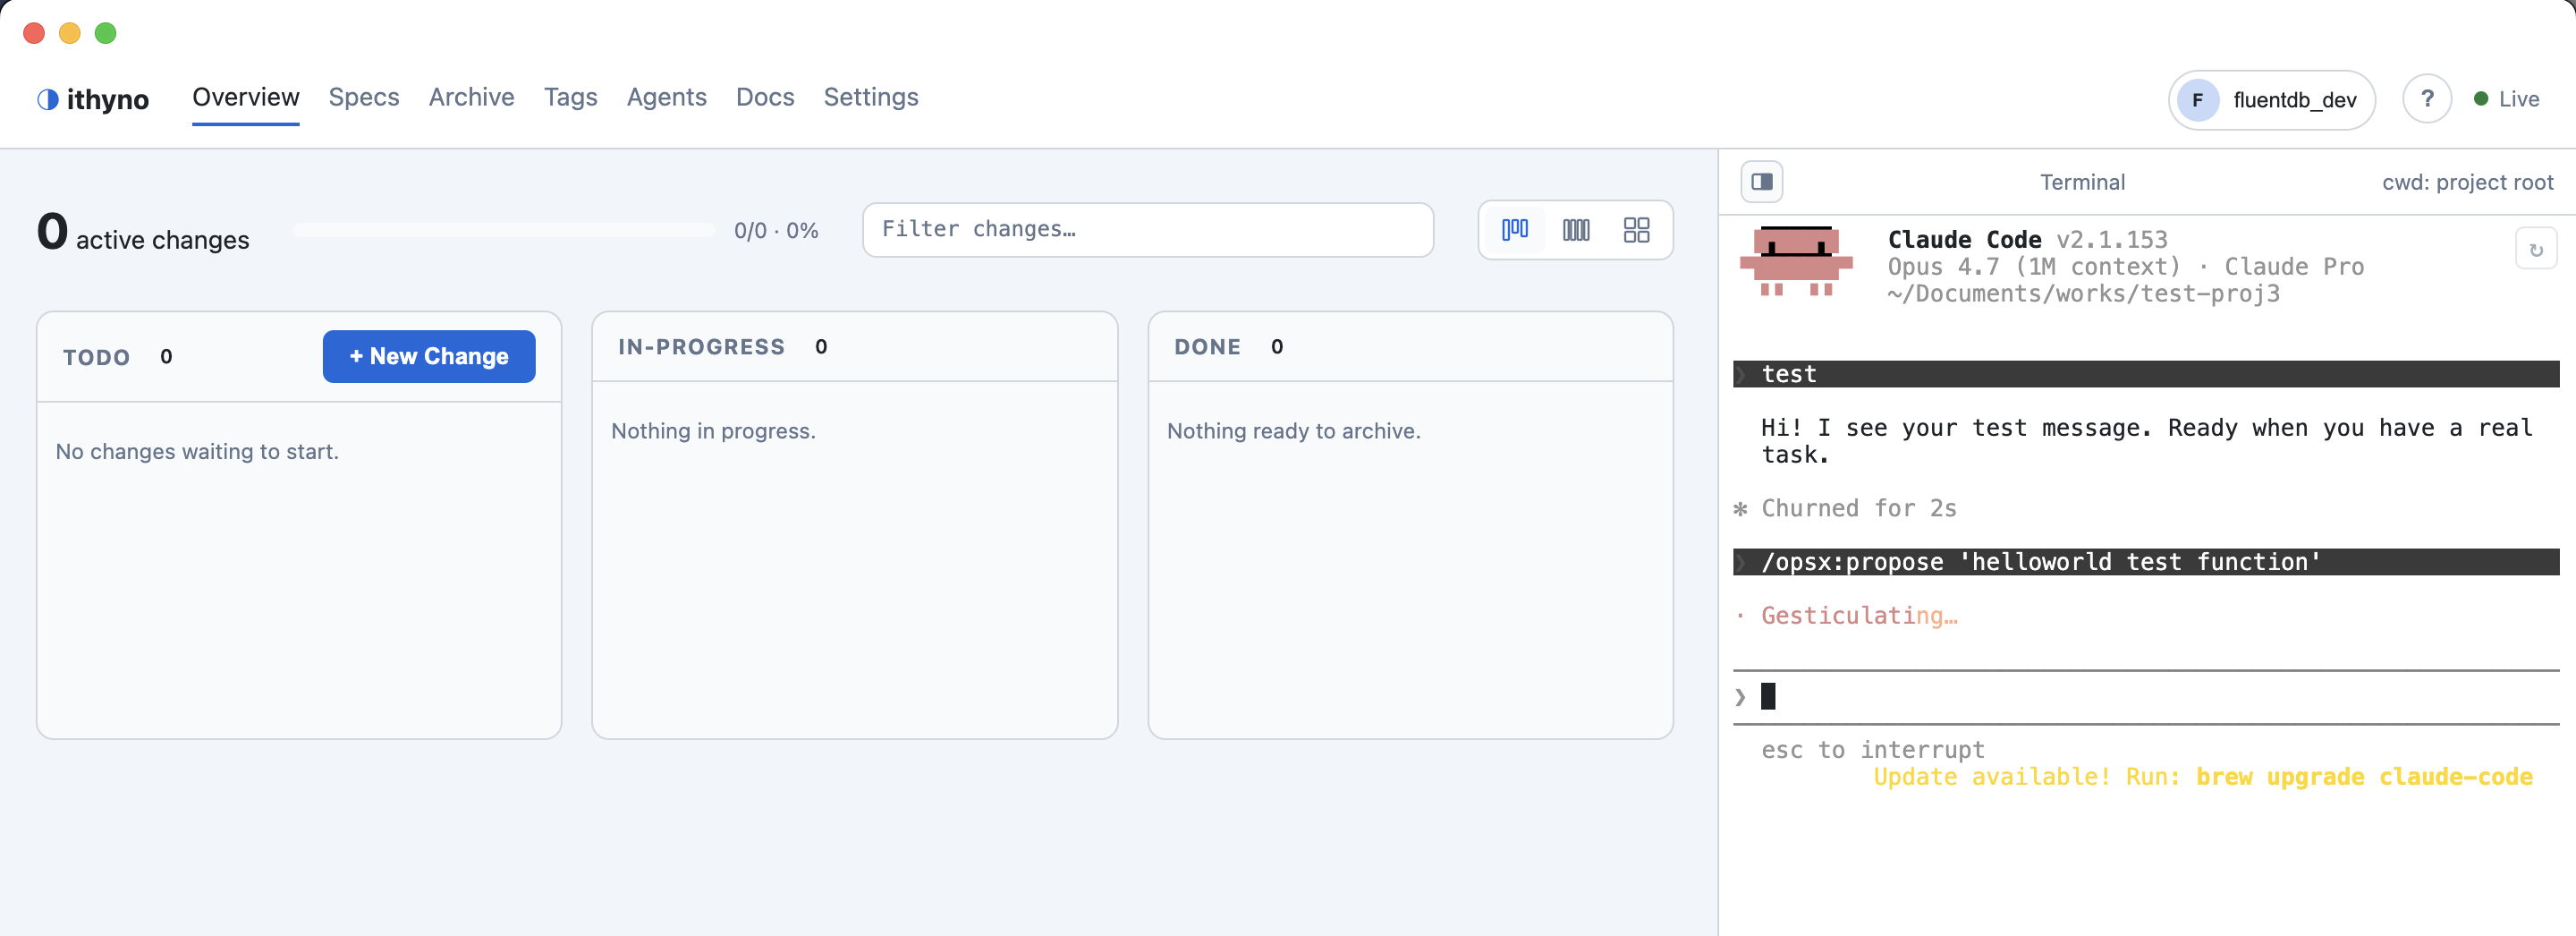
- From the dashboard, select + New Change.
- Describe one small outcome, for example:
Add a health-check endpoint that returns
{ "status": "ok" }.
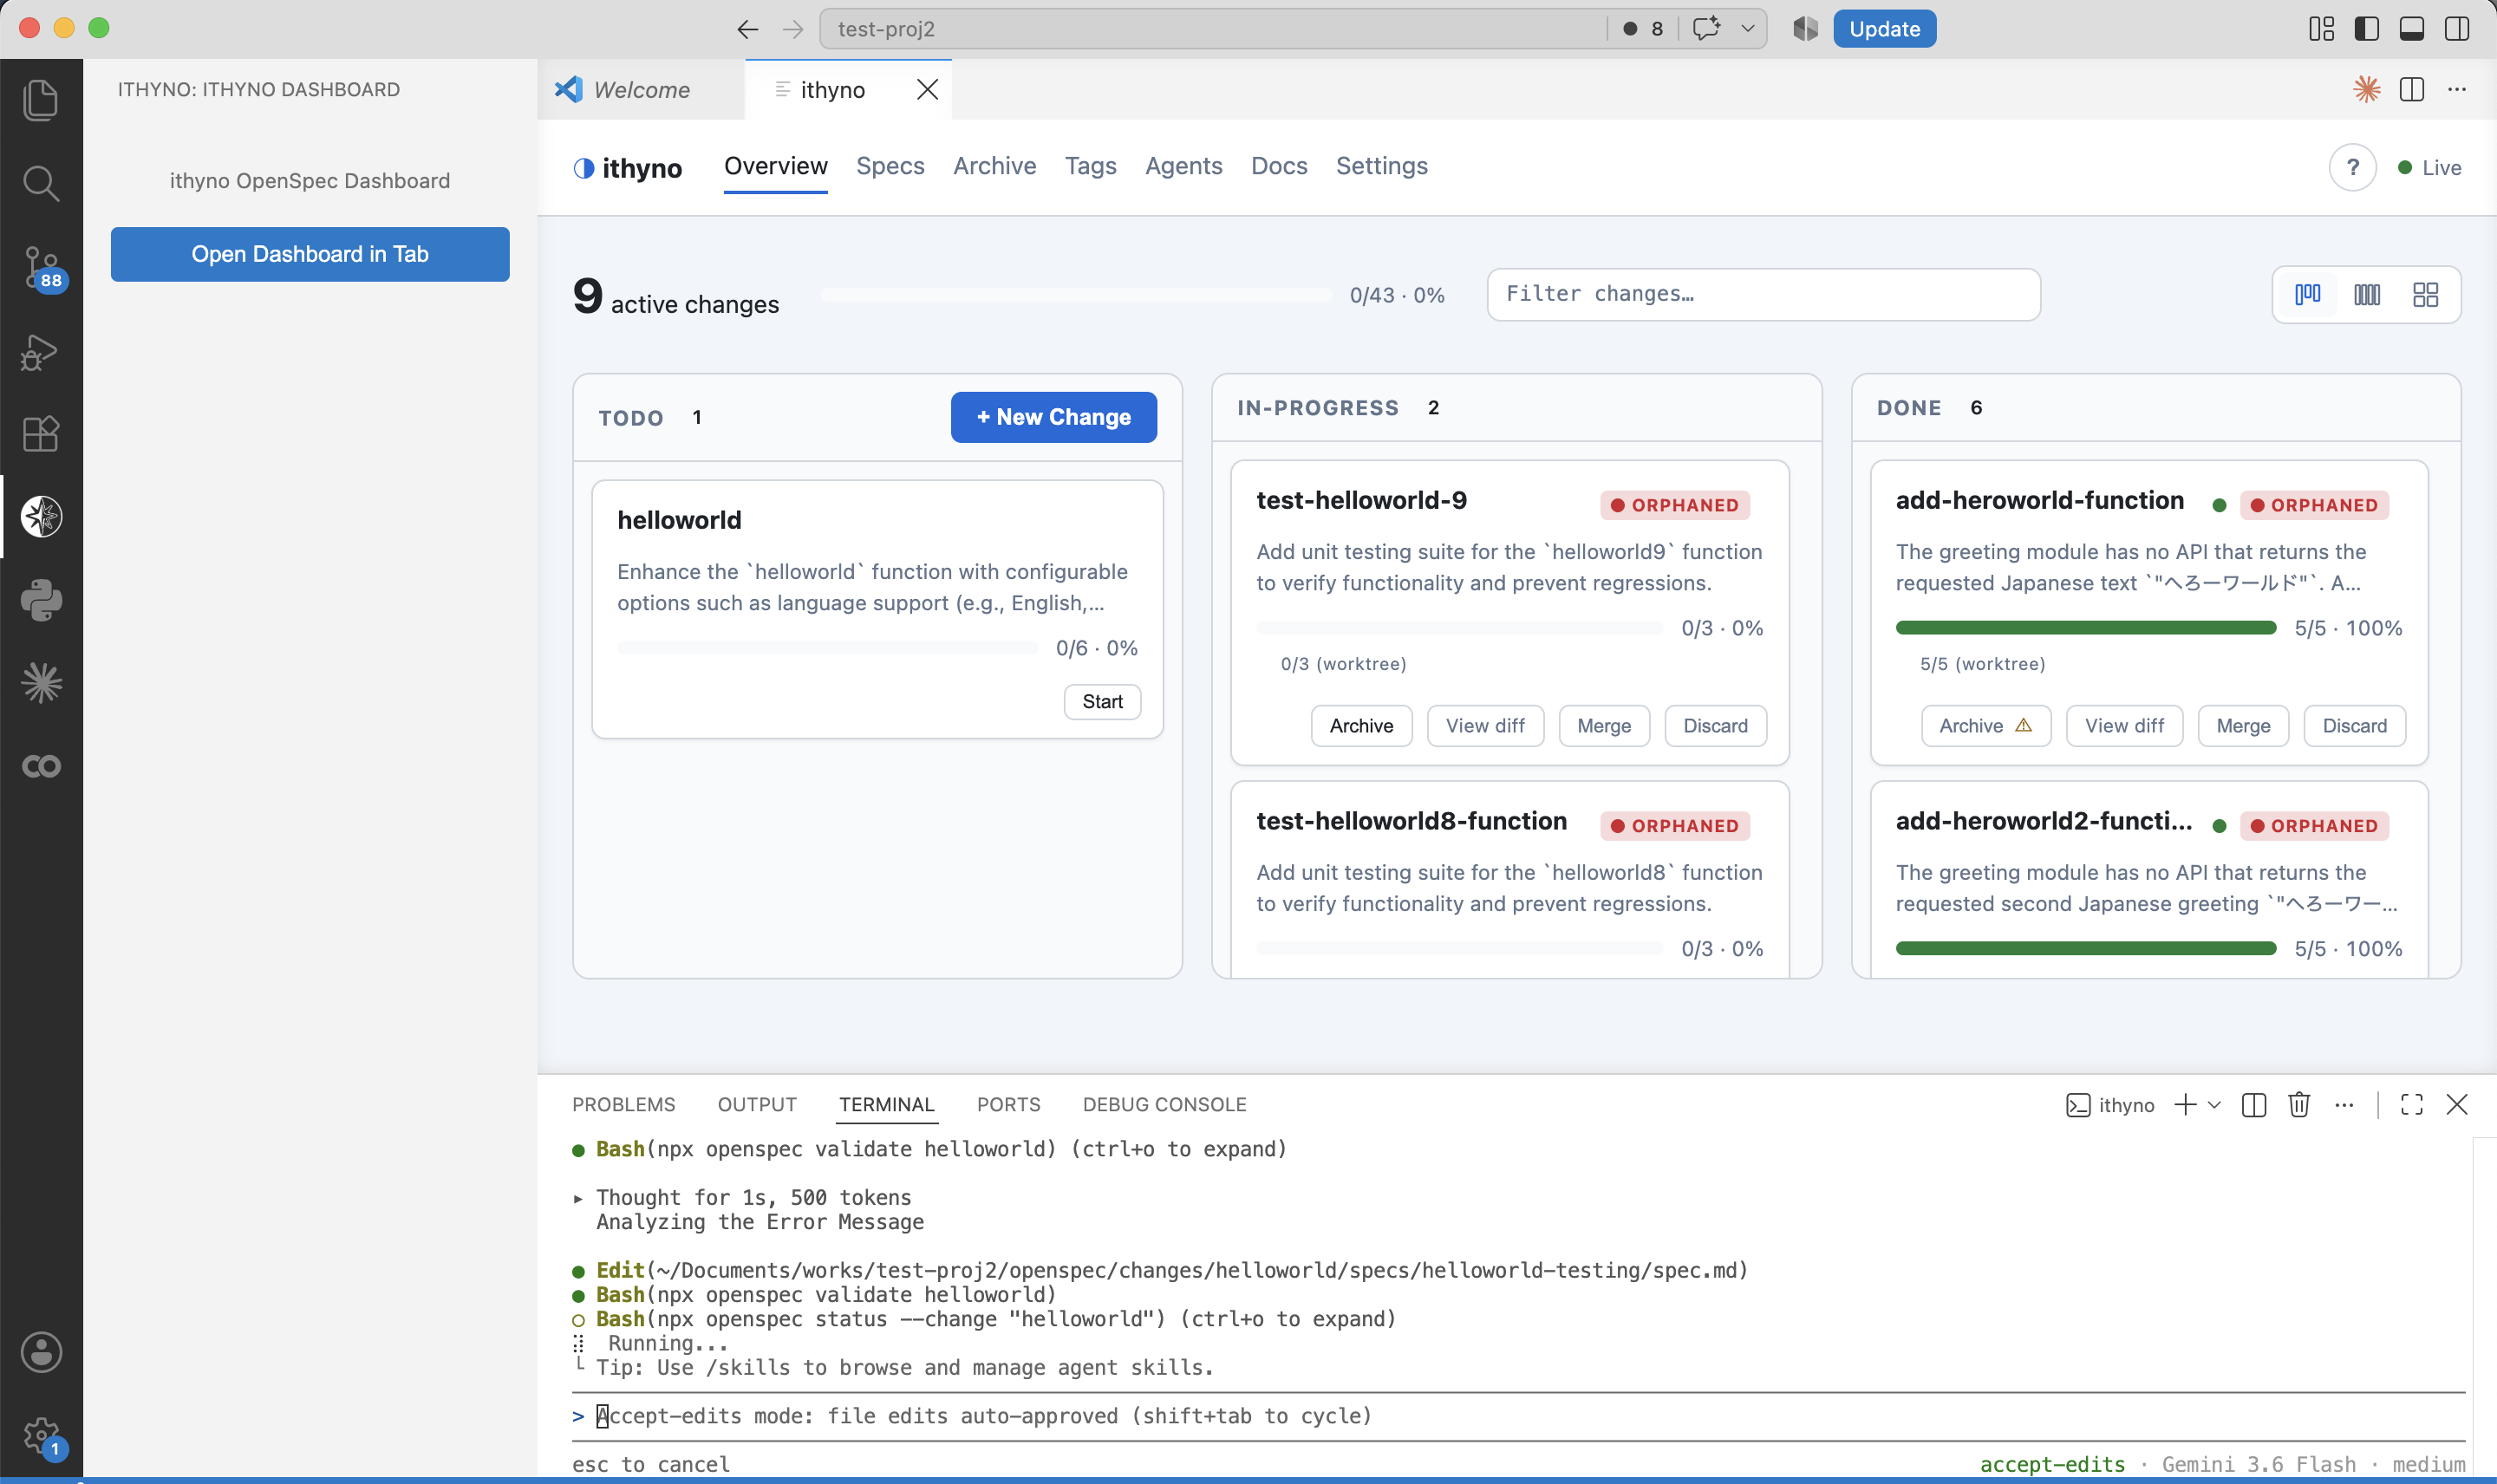
- Let the Manager create the proposal, requirements, design, and task list.
- Open the change and review the generated documents before starting work. Answer any questions shown as Needs human.
Keeping the first change small makes it easier to confirm that the selected agent, permissions, and development tools are working correctly.
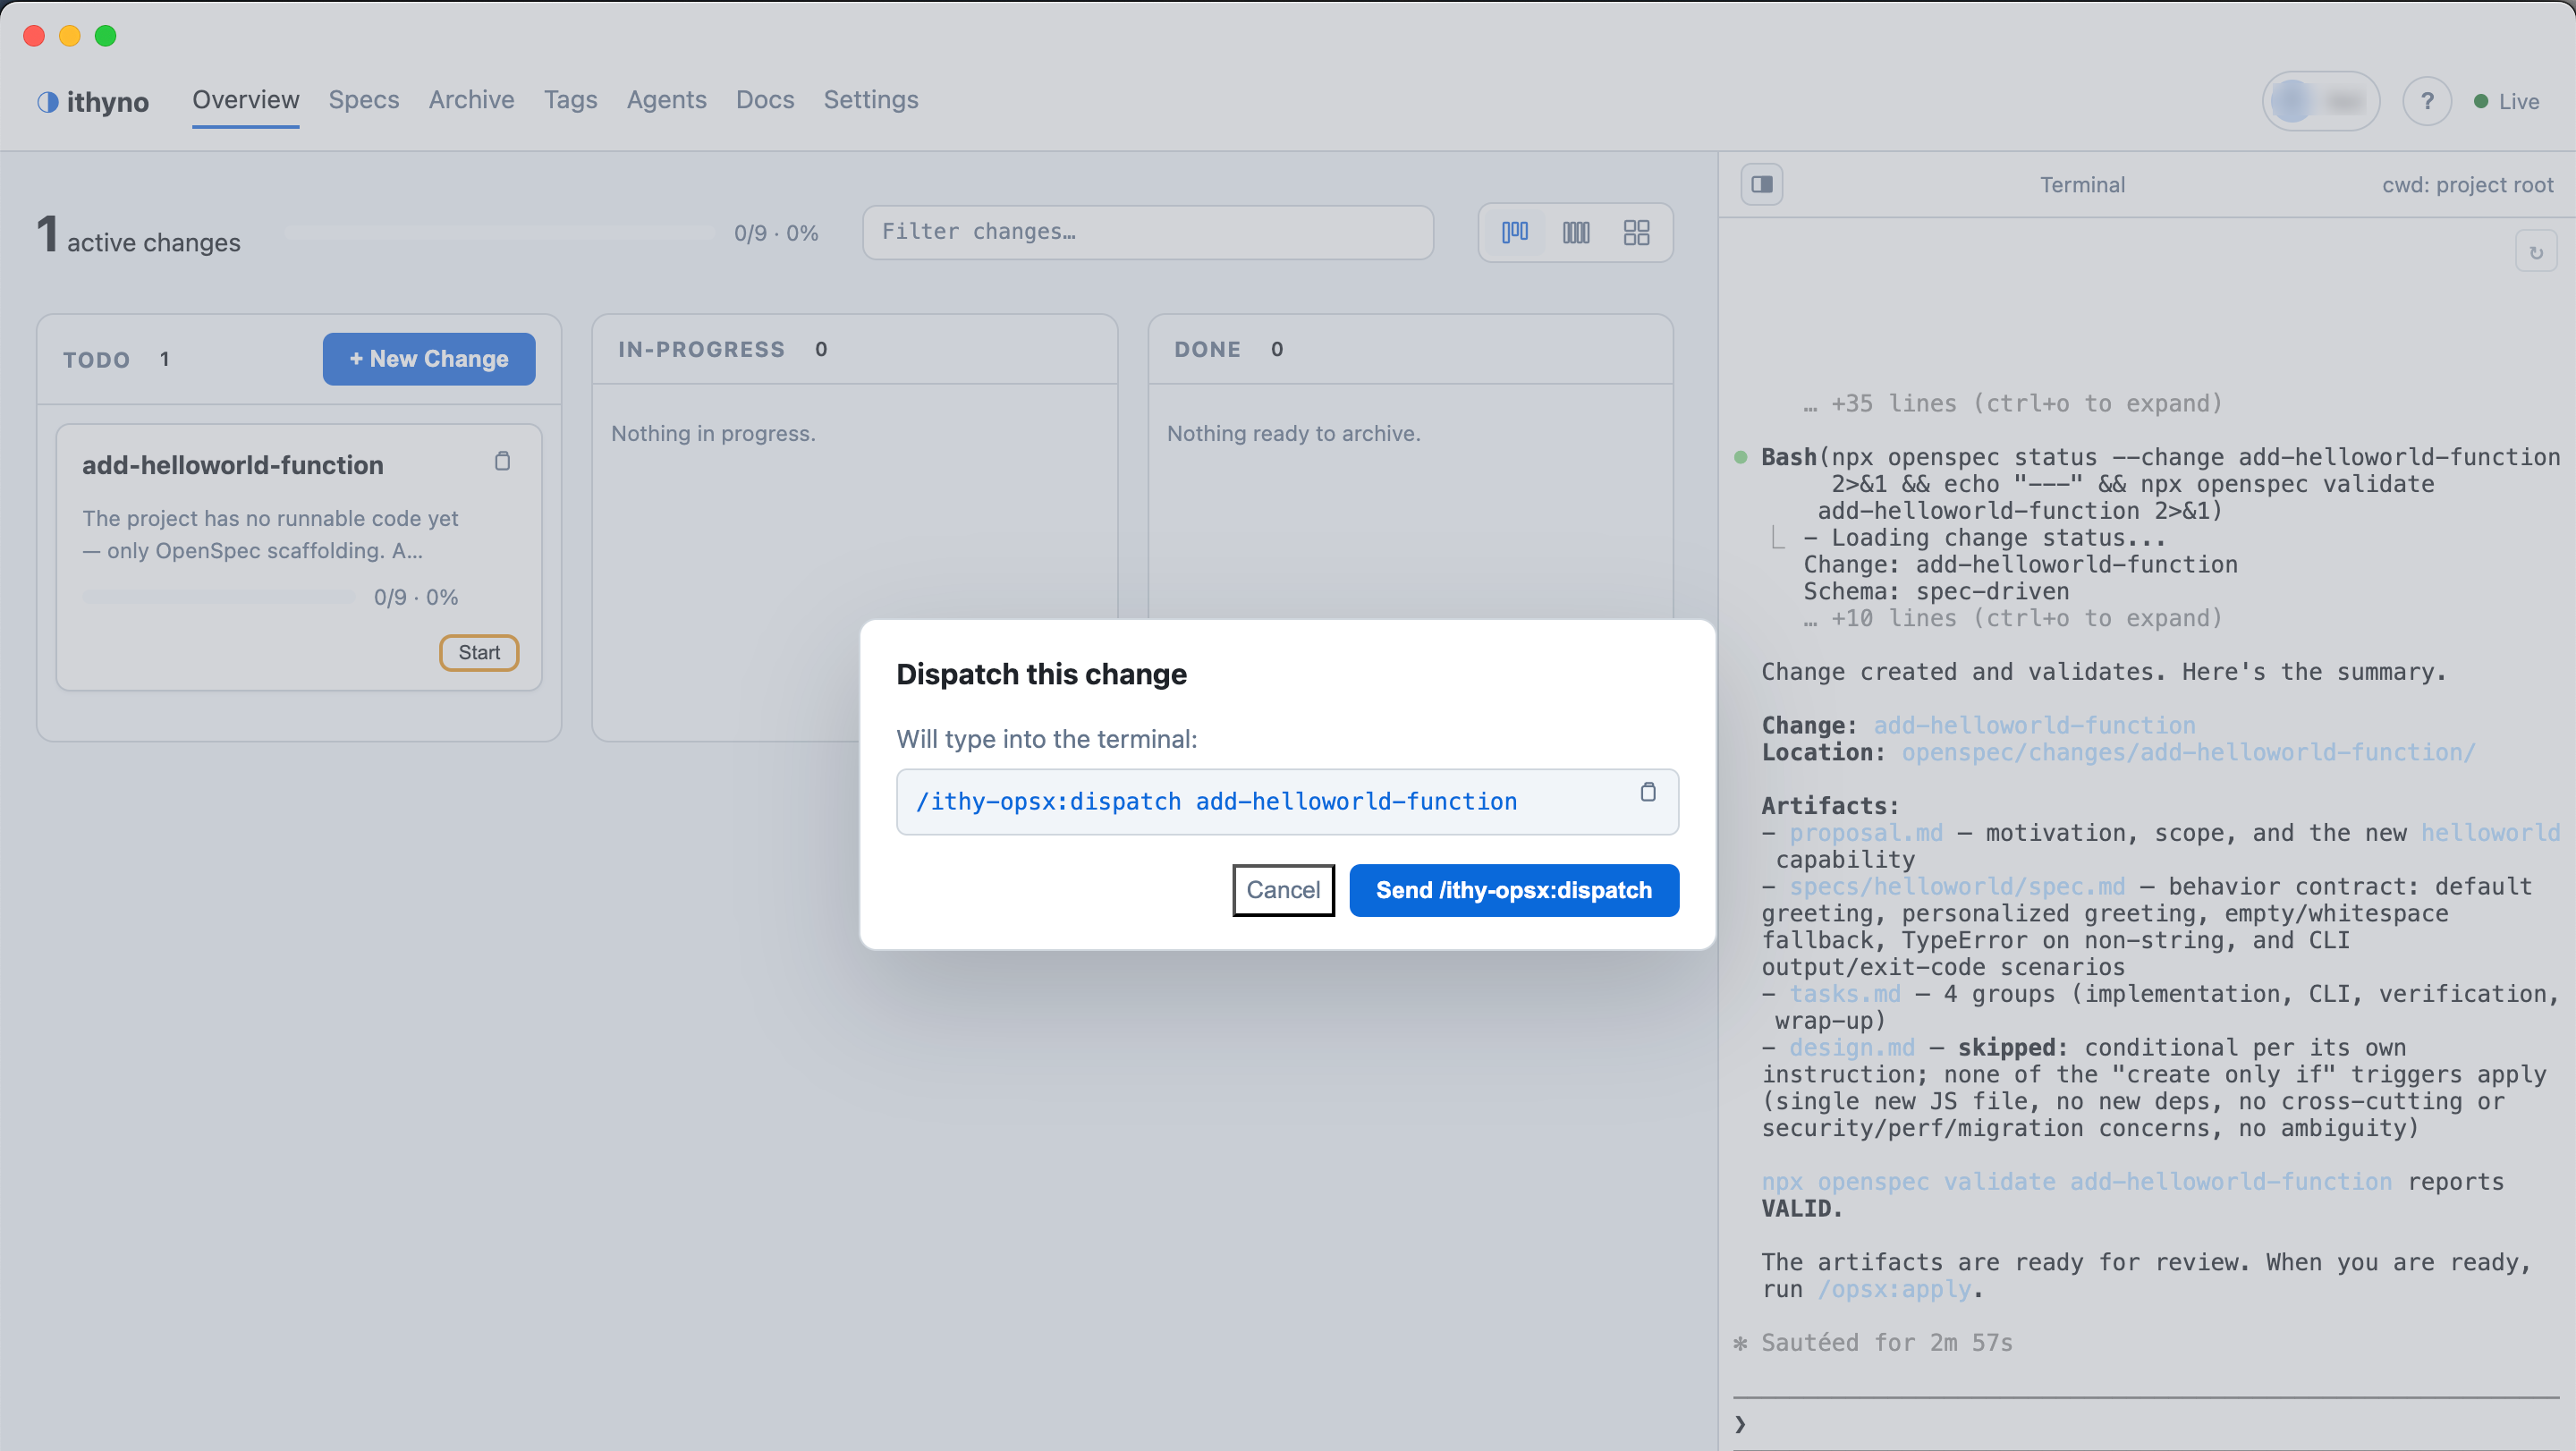
4. Start and monitor the work
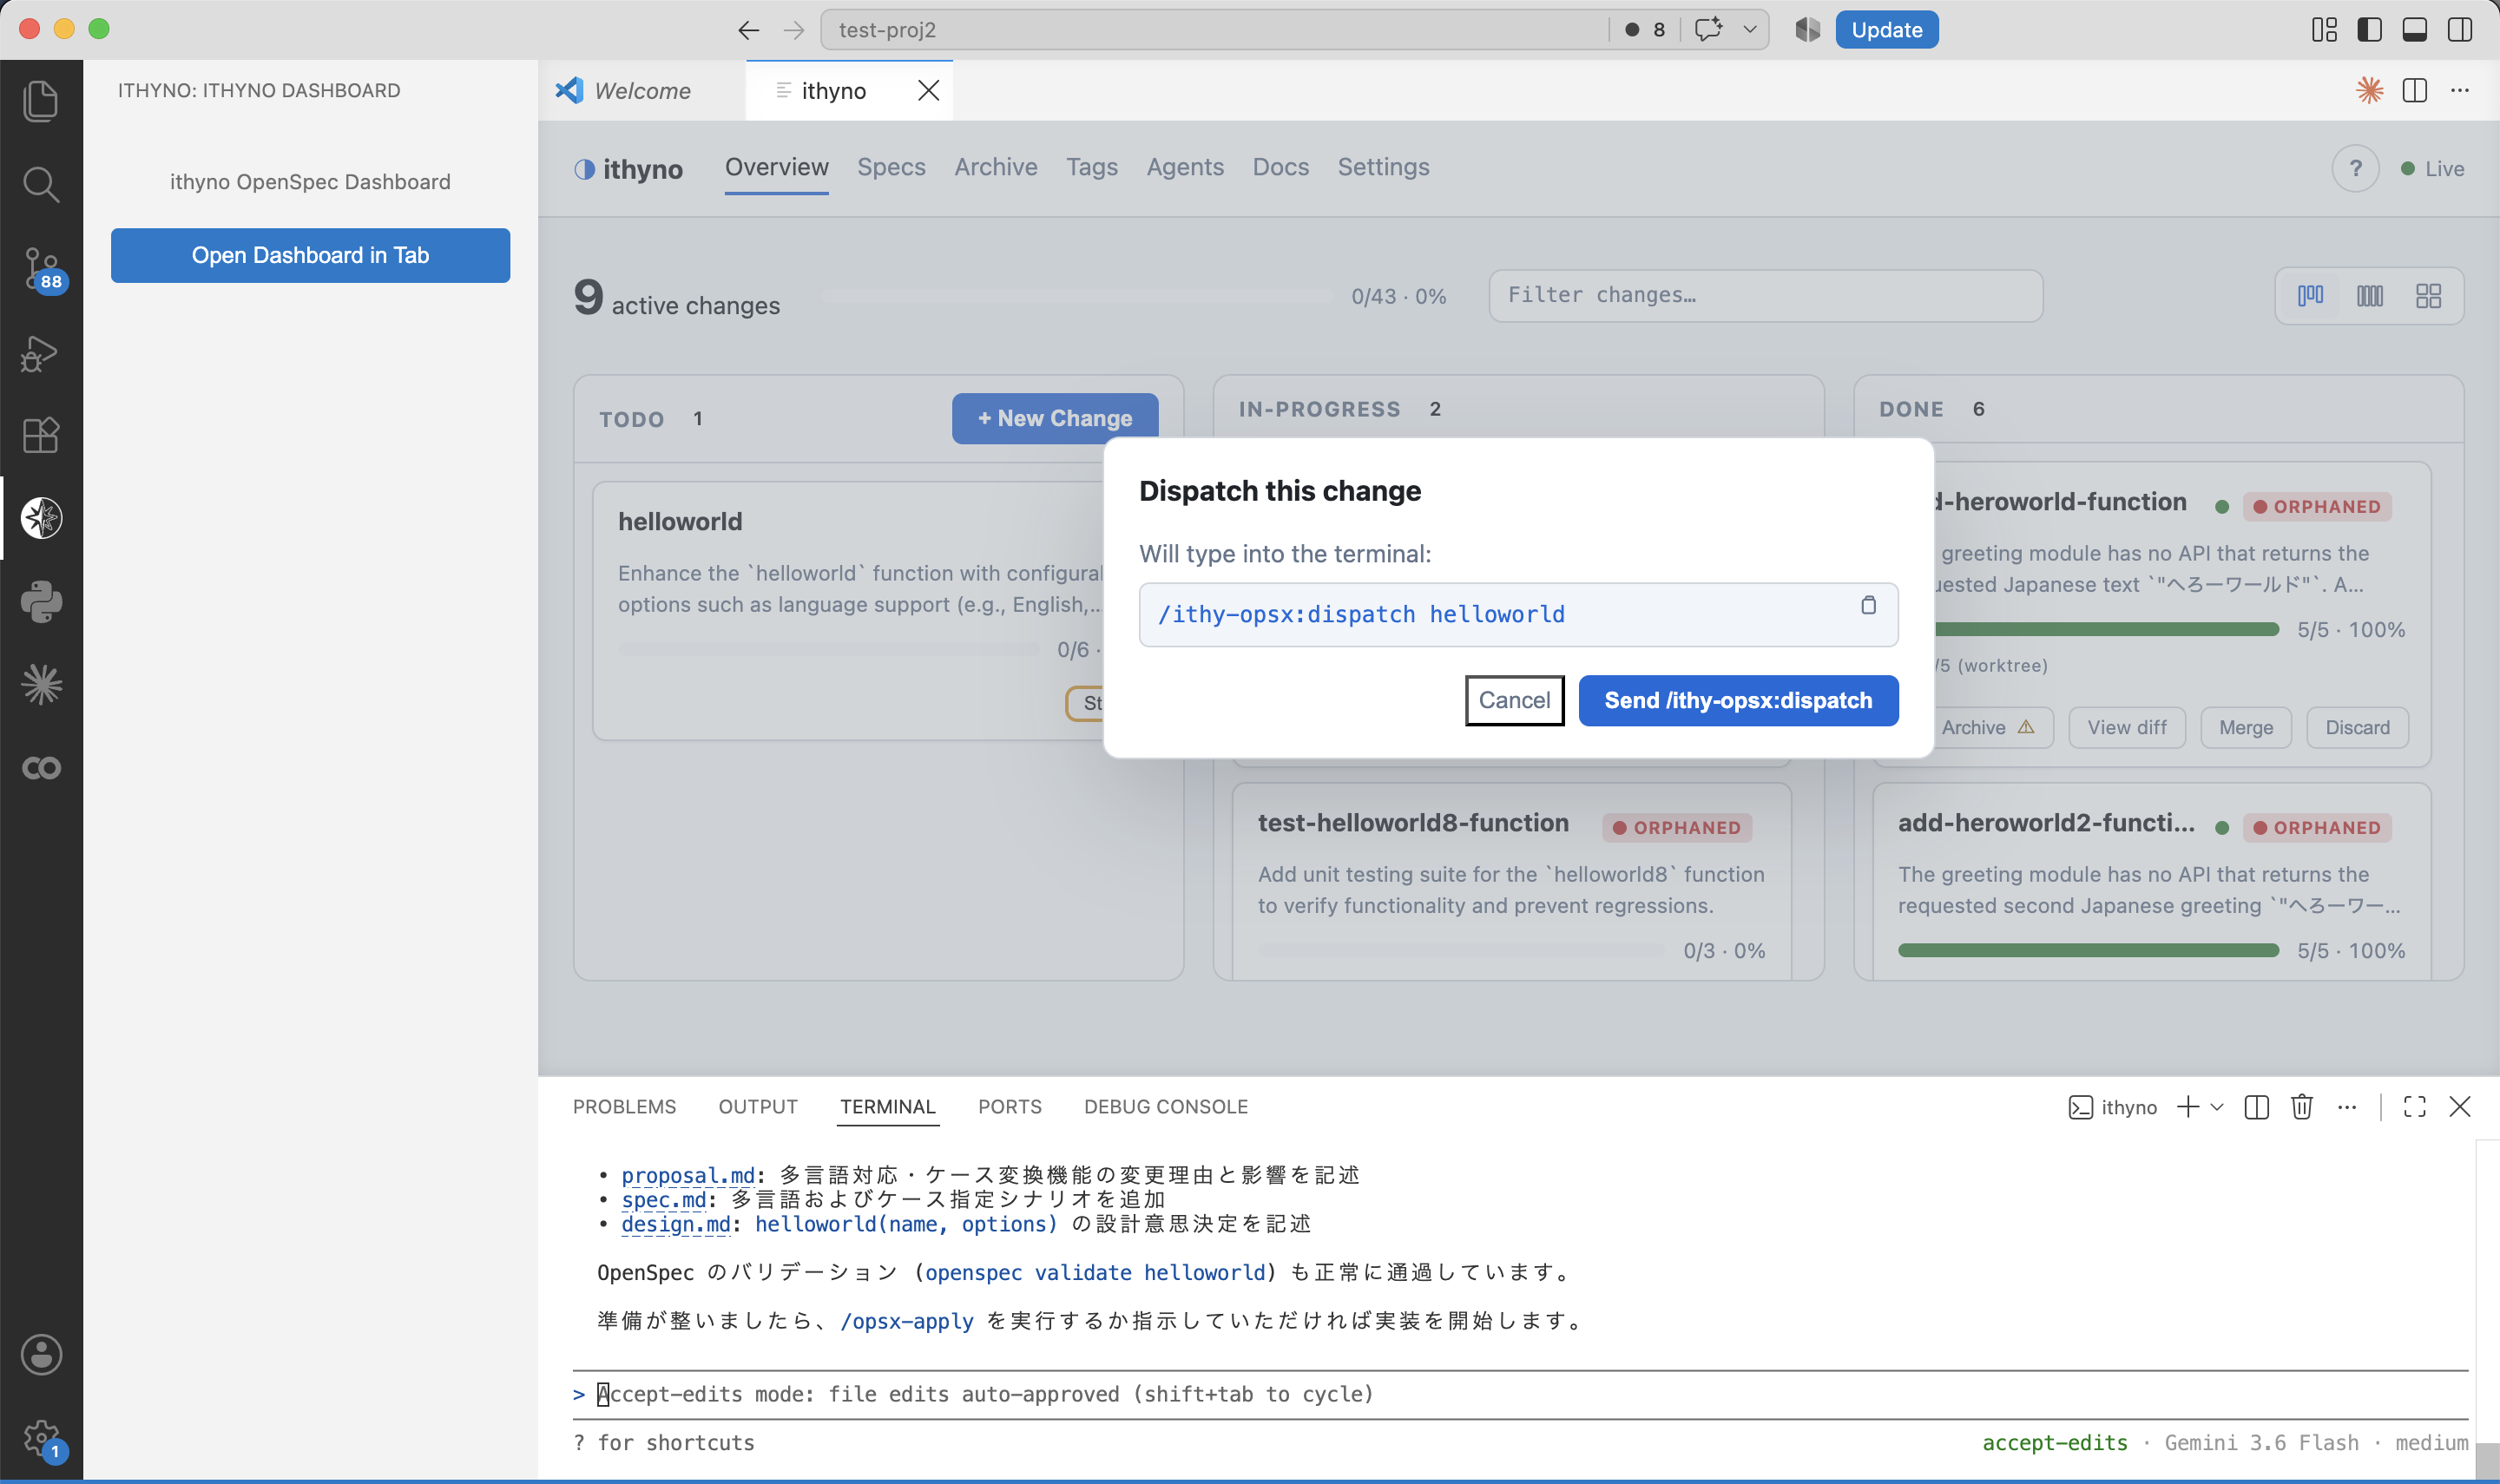
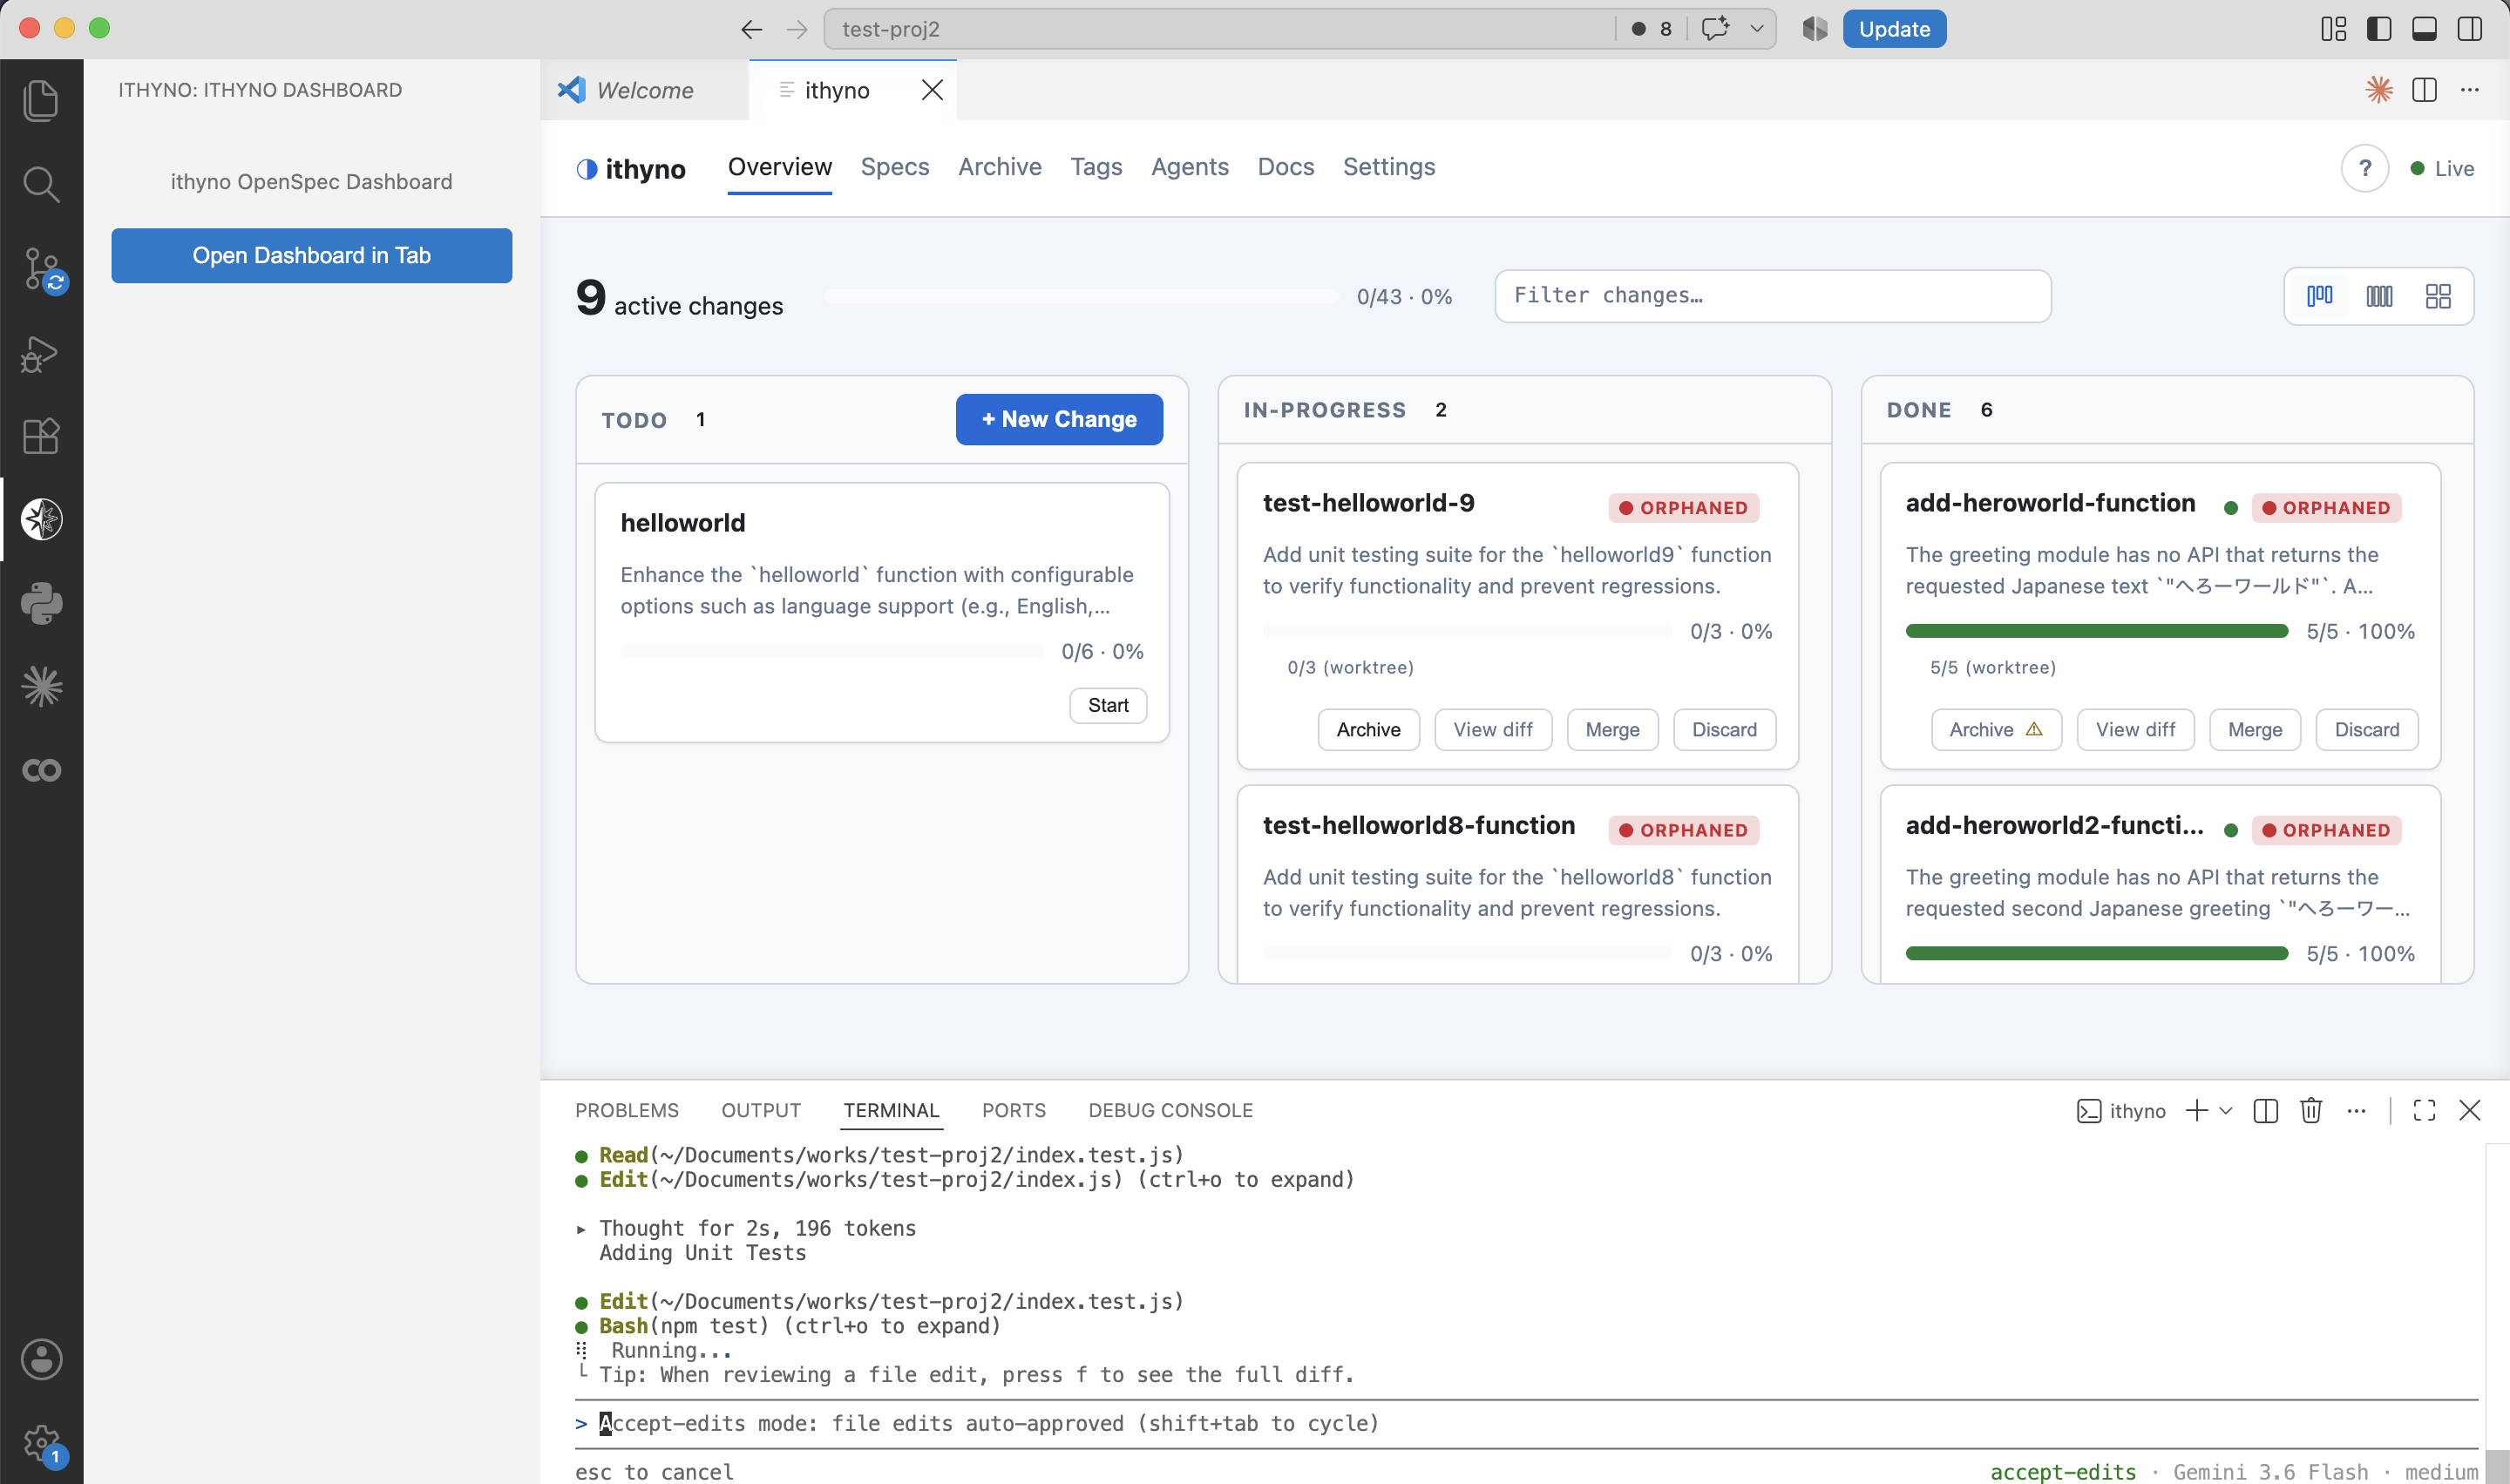
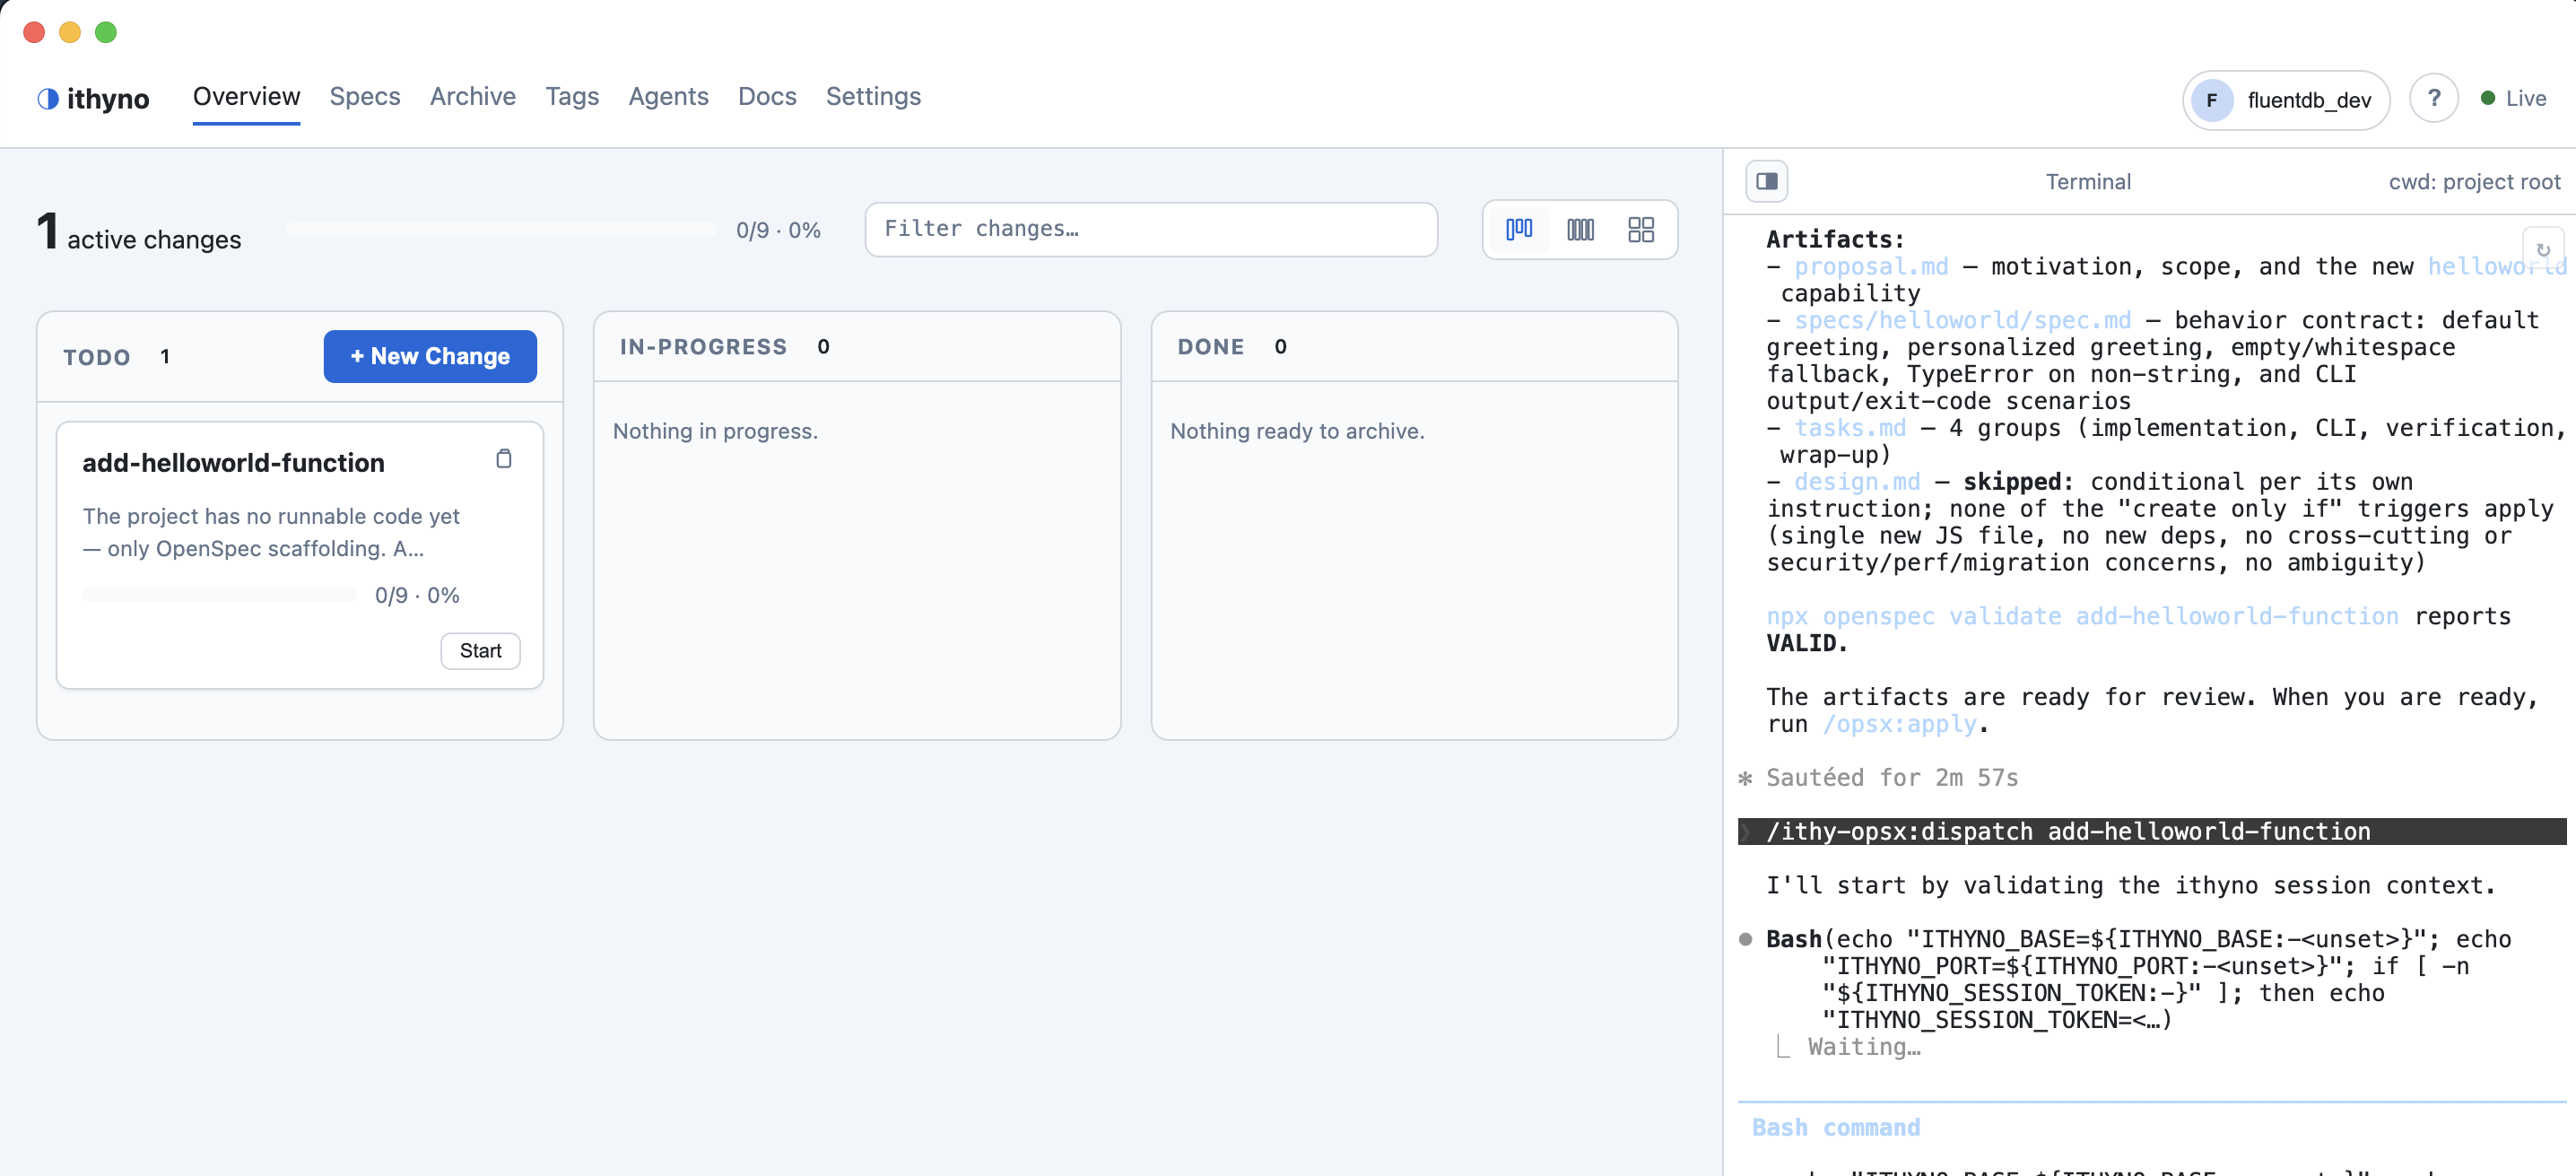
- Select Start on the change card.
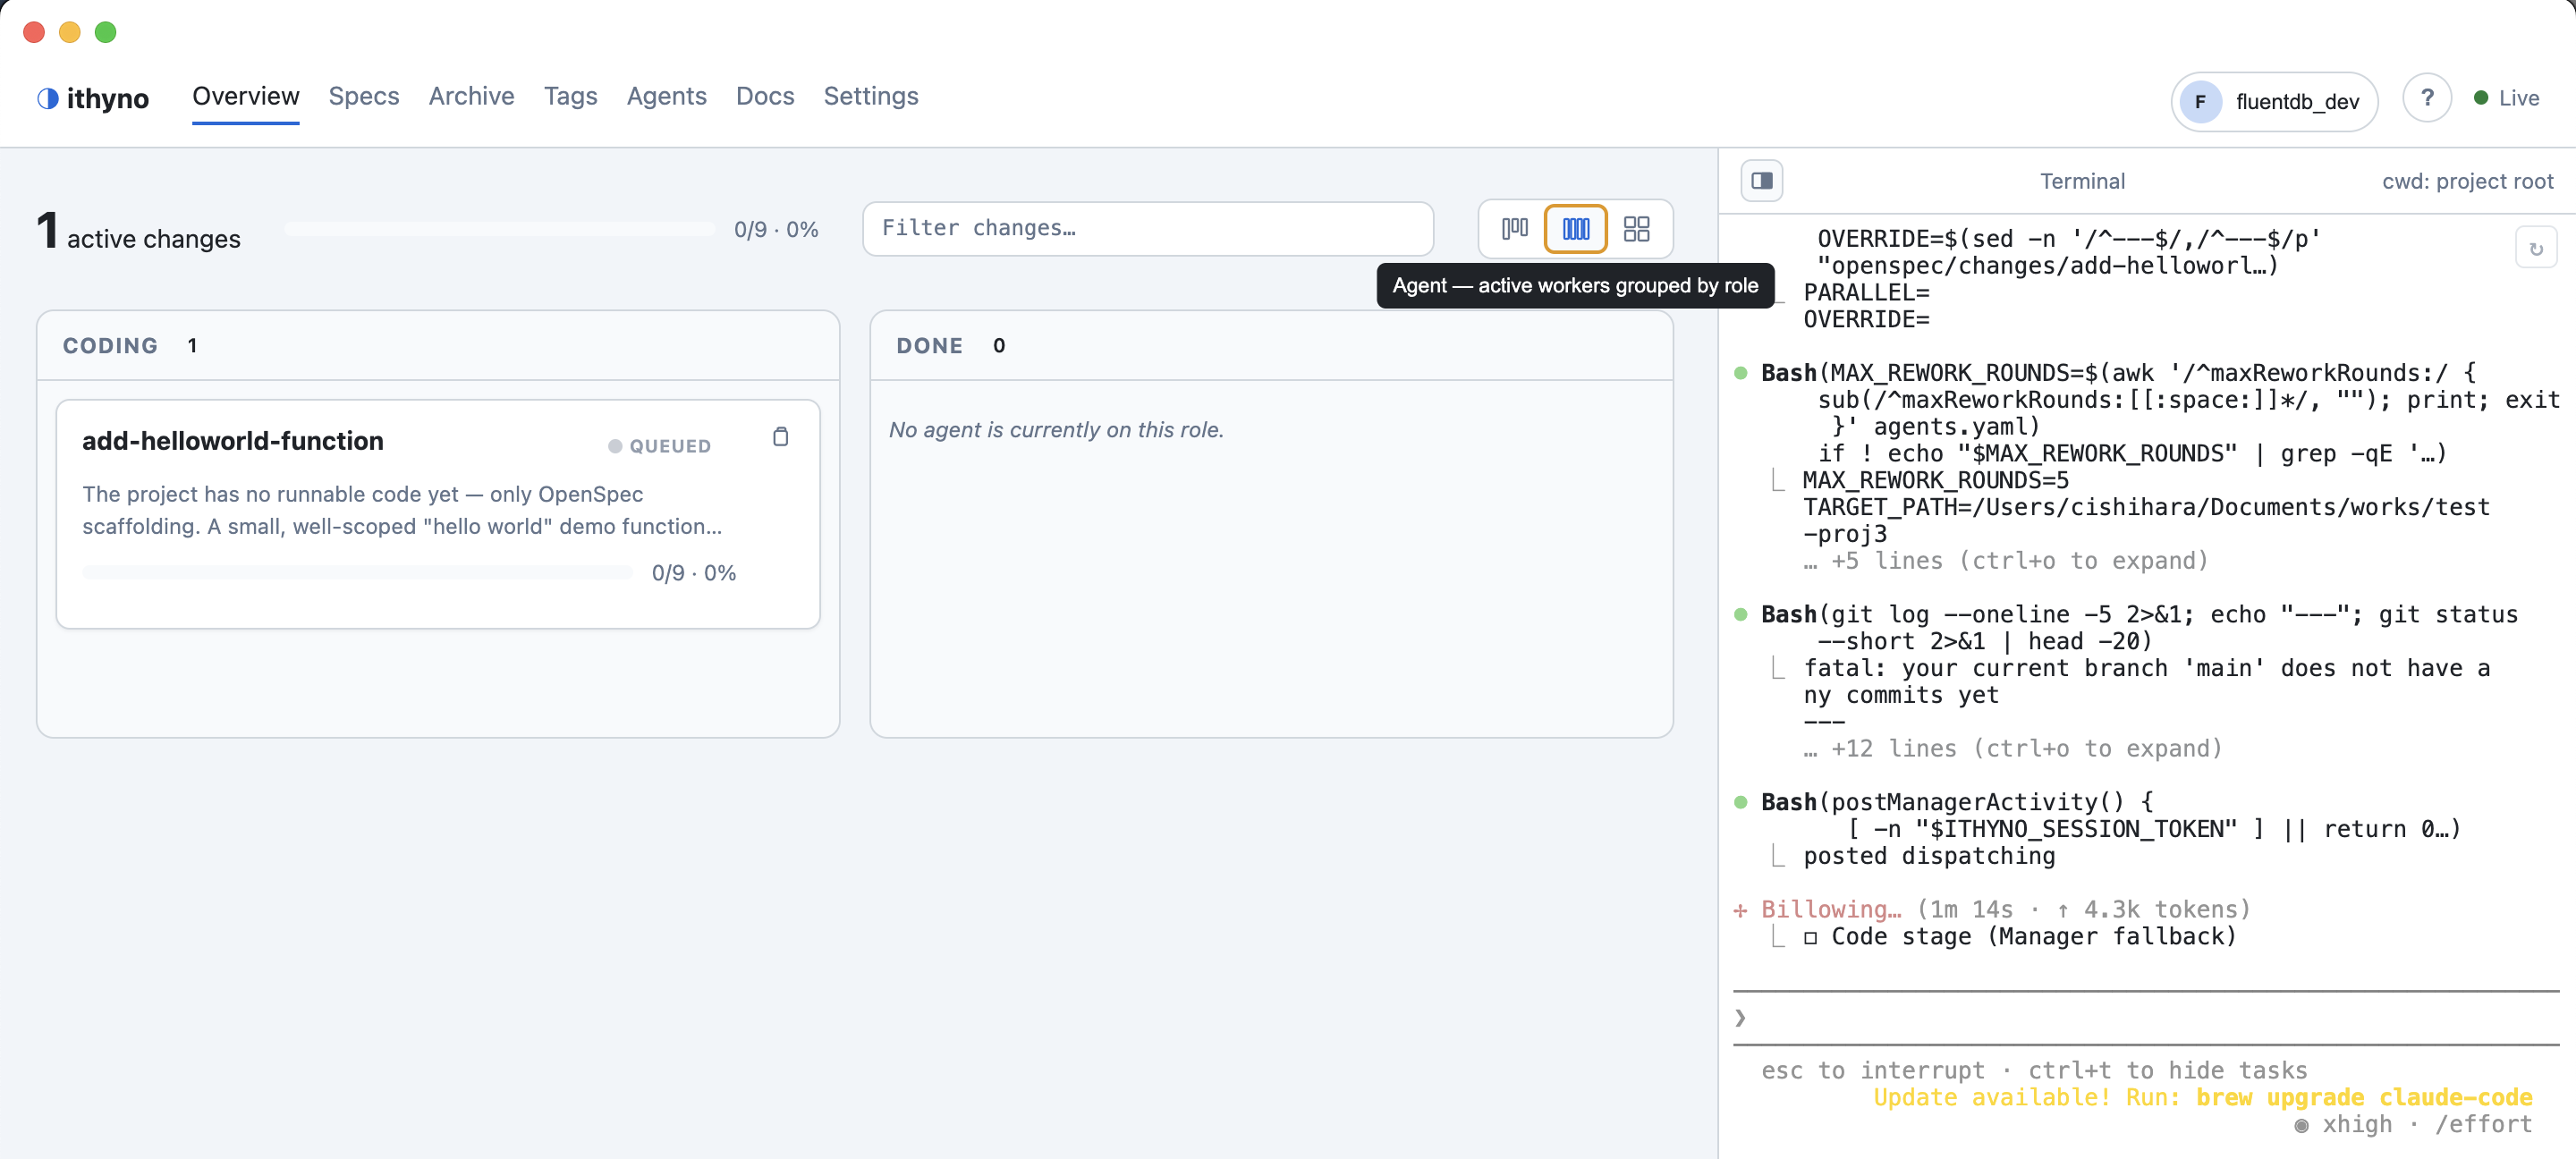
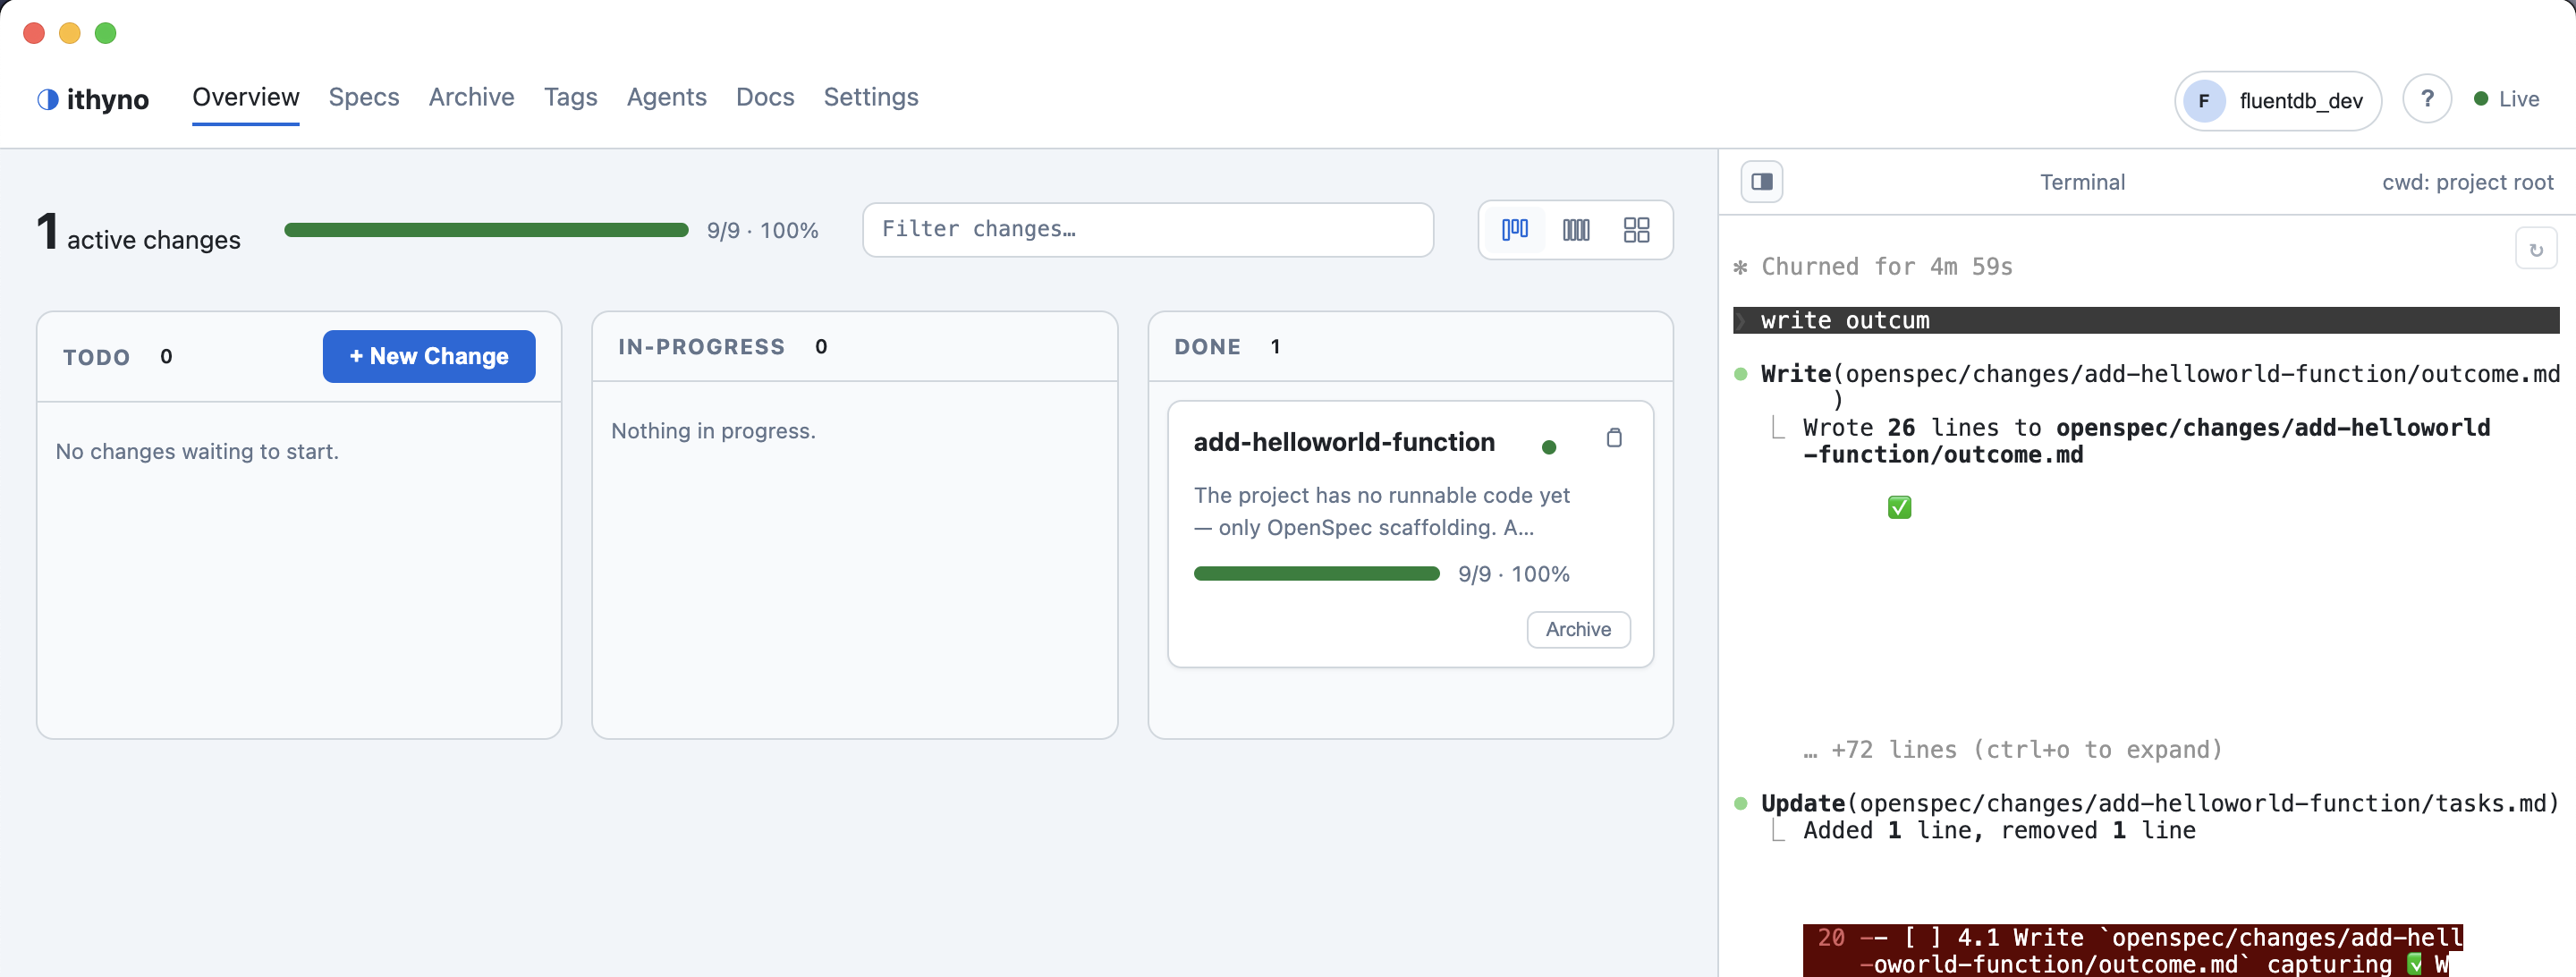
- Follow progress on the dashboard. With role-based agents configured, ithyno advances through code, review, and verify in order.
- If the change returns to Needs human or requires rework, review the finding, answer it, and resume the change.
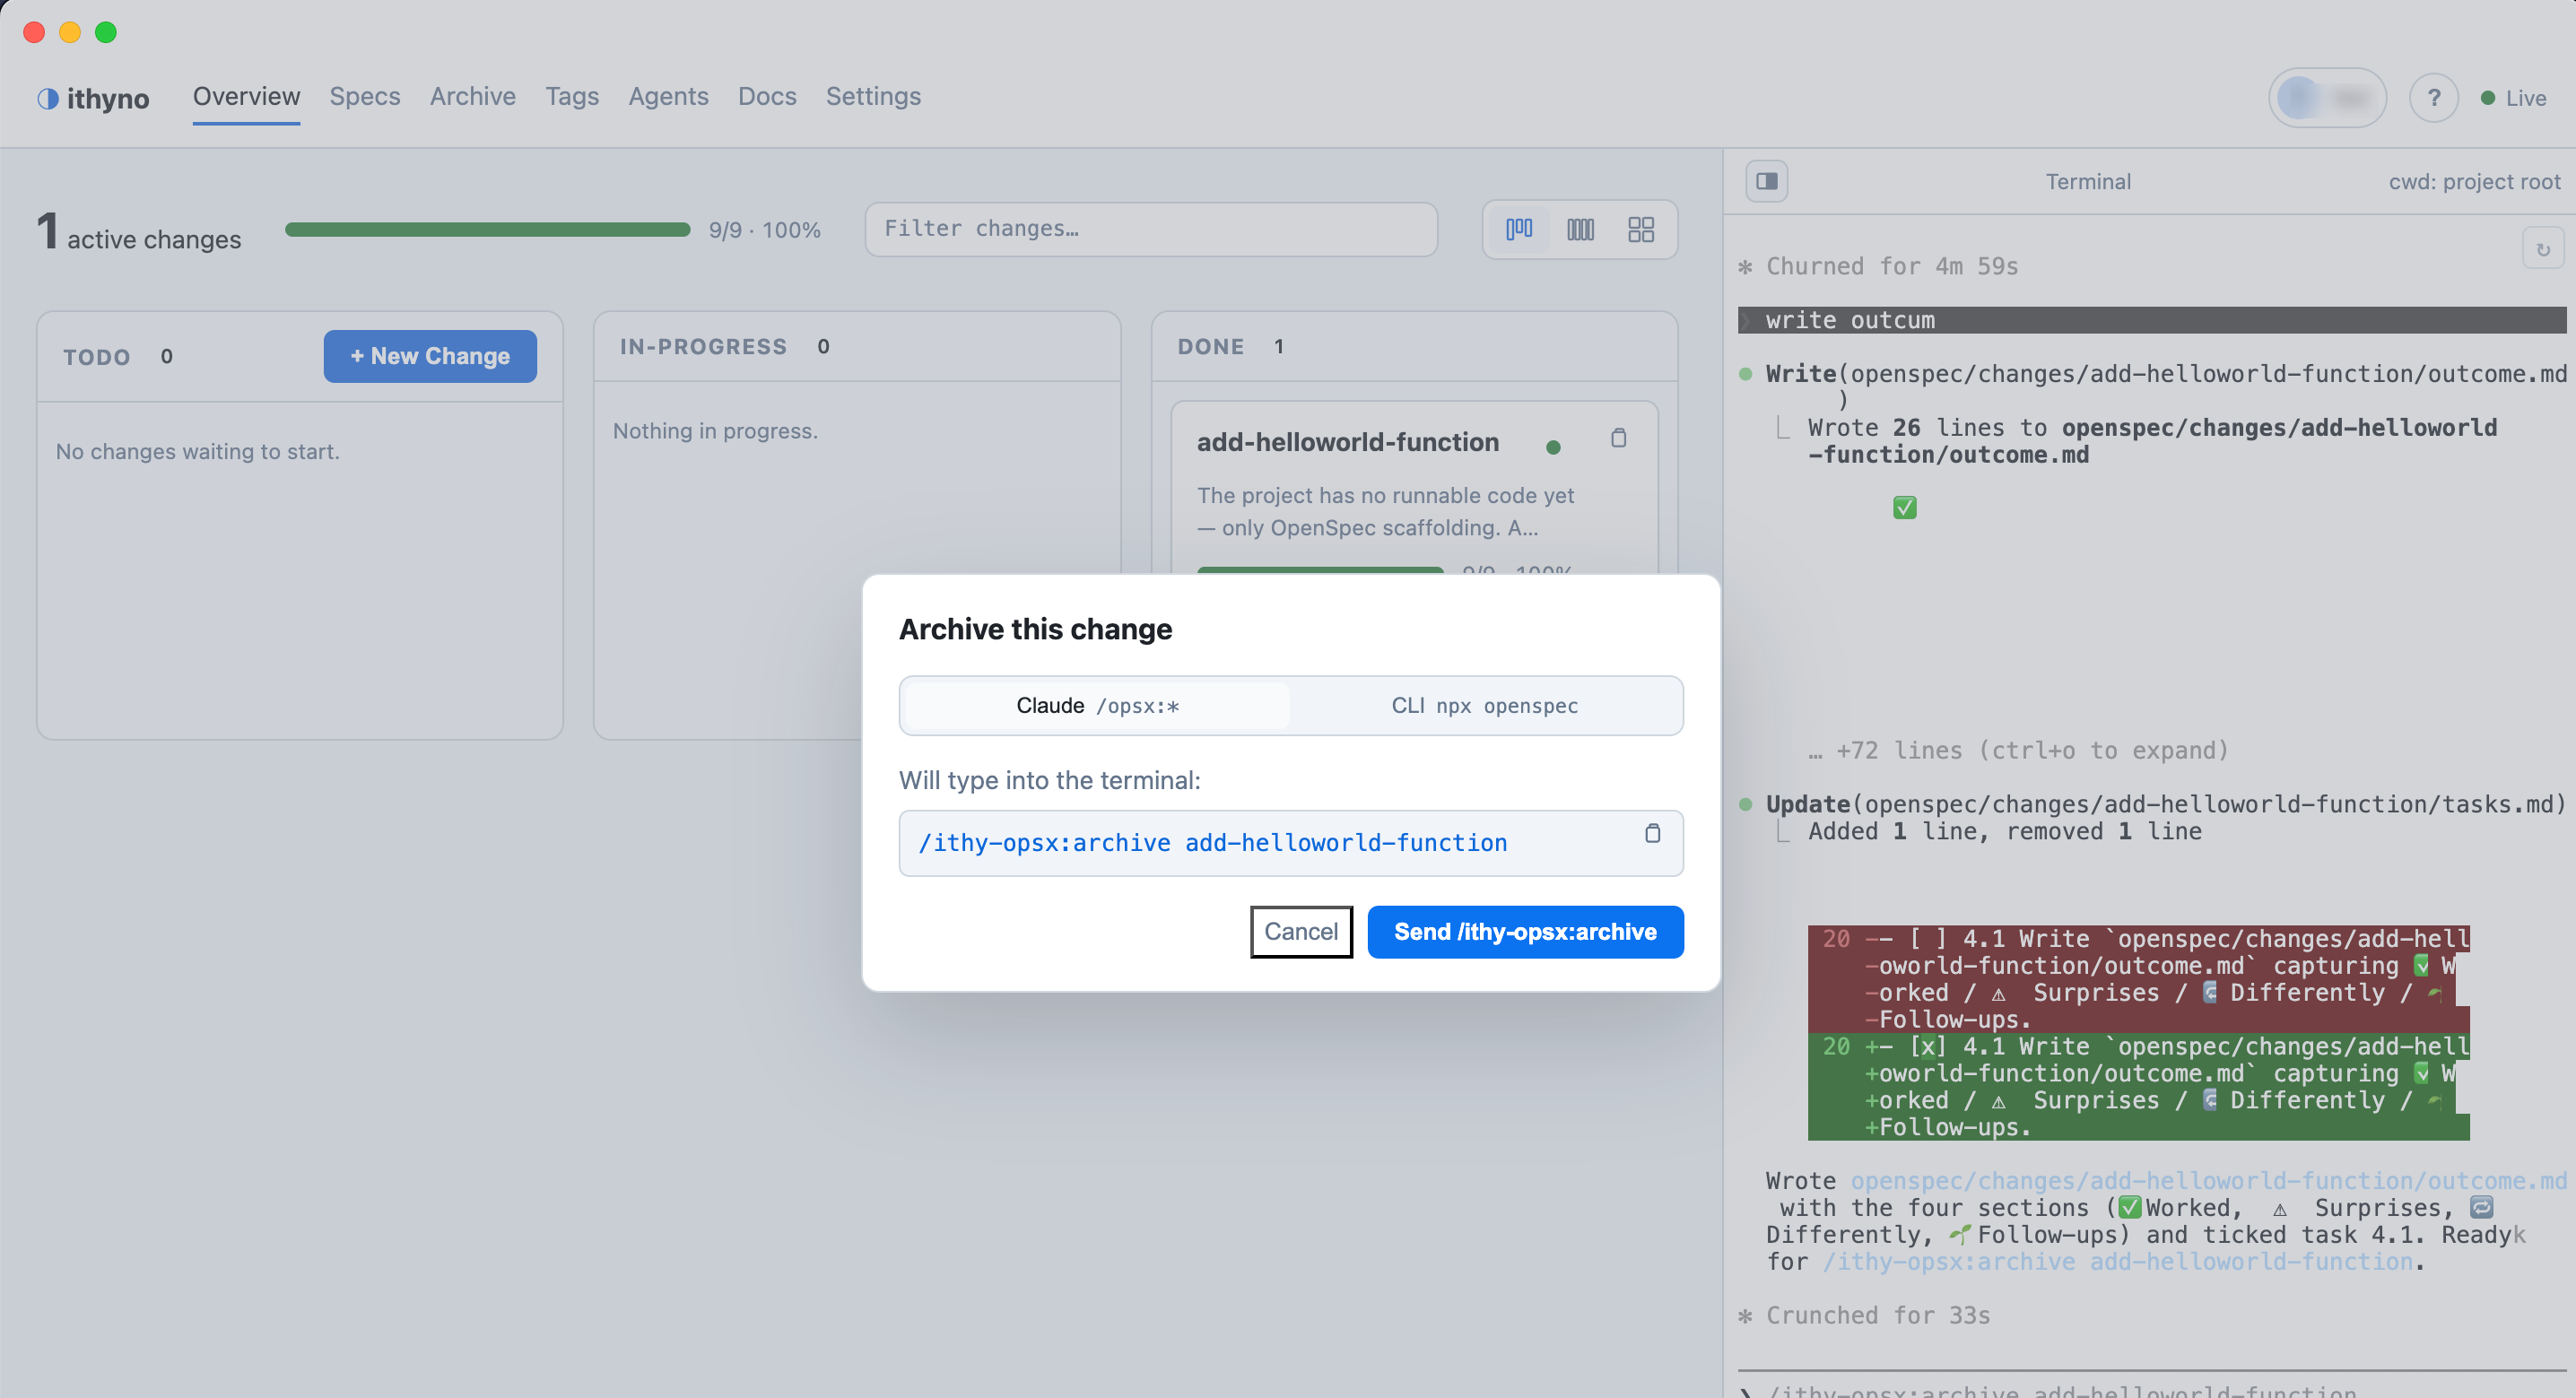
- Inspect the completed diff and test results before merging or archiving.
For a detailed description of initialization and importing an existing codebase, see Init & Import. To add separate code, review, and verify workers, continue with Set Up Multiple Agents and Dispatch a Change.